Monday 8 August 2022

New Theme Announcement

Thank you to everyone who submitted an 'Animal Kingdom' quilt. This theme inspired a fantastic collection of different ideas and creations. We only have two suggestions on our list, now, but they are both very interesting ones and I'm sure they will inspire some amazing quilts.

1. Portrait (of self/family member/pet/famous person) or a reproduction of a famous painting.

2. Boustrophedon

I used the fun random generator wheel again (found here: https://tools-unite.com/tools/random-picker-wheel) and it chose:


So our new theme is 2. Boustrophedon and I can't wait to see what everyone will make in response to this one.


The deadline for this theme is November 1st 2022 at 10.00am GMT but remember you can always put up your post earlier and Schedule it.

In the meantime, you are welcome to share your thoughts, ideas and progress here on The Endeavourers Blog.

Happy Sewing!

Janine :)

Monday 1 August 2022

I Otter Be Better Constructed

 Initially I was going to create some deep sea creatures for this theme, but then I saw the awesome work of Bryony Rose Jennings, so then I wanted to try a 3D creature myself.  But nothing too complicated!  

We have very occasional visits from river otters, and that seemed like an easy animal to make.

An otter in our pond, in 2011.

I wanted to capture its spiky fuzz, and I would have loved to use fabric and lace bits like Bryony does, but I had limited time.  So I made a basic soft toy, then stitched loops of recycled sari silk yarn to long thin strips of fabric, and arranged those around the otter's body. (I am now thinking I may have been influenced by the header image on this blog!)

A very basic otter body made out of batik fabric.

A colorful otter on the shoreline.

No careers of animal sculptors were in any way threatened during my execution of this challenge.

 
Beautiful recycled silk yarn.

Technically this is not in any way quilted!  I wanted to make a little quilt pond for the otter to rest in, but then my mom broke her leg and my sister got covid and life in general kept occurring!  Most of the projects that I do for this group are ones that I consider maquettes or rough drafts, as IF I were going to complete a piece for a show.  This otter is even more of a practice piece than most.  But I am just glad to have my creature finished, and he is a very cheerful companion in the studio.  And I hope you check the links on Bryony Rose Jennings and get some inspiration there!


Animal Kingdom: Henrietta

 When the theme Animal Kingdom was chosen, I spent days trying to figure out what to create. This happens with each theme. I think I need to do something on a grand scale - it takes me a few days to come to my senses. I considered quite a few different animals - the blue-footed booby almost won out (because they are so darn cute!). In the end, I went with a humble chicken. Ms. Henrietta, however, is anything but humble. Once I settled on this idea, I had a little fun. 


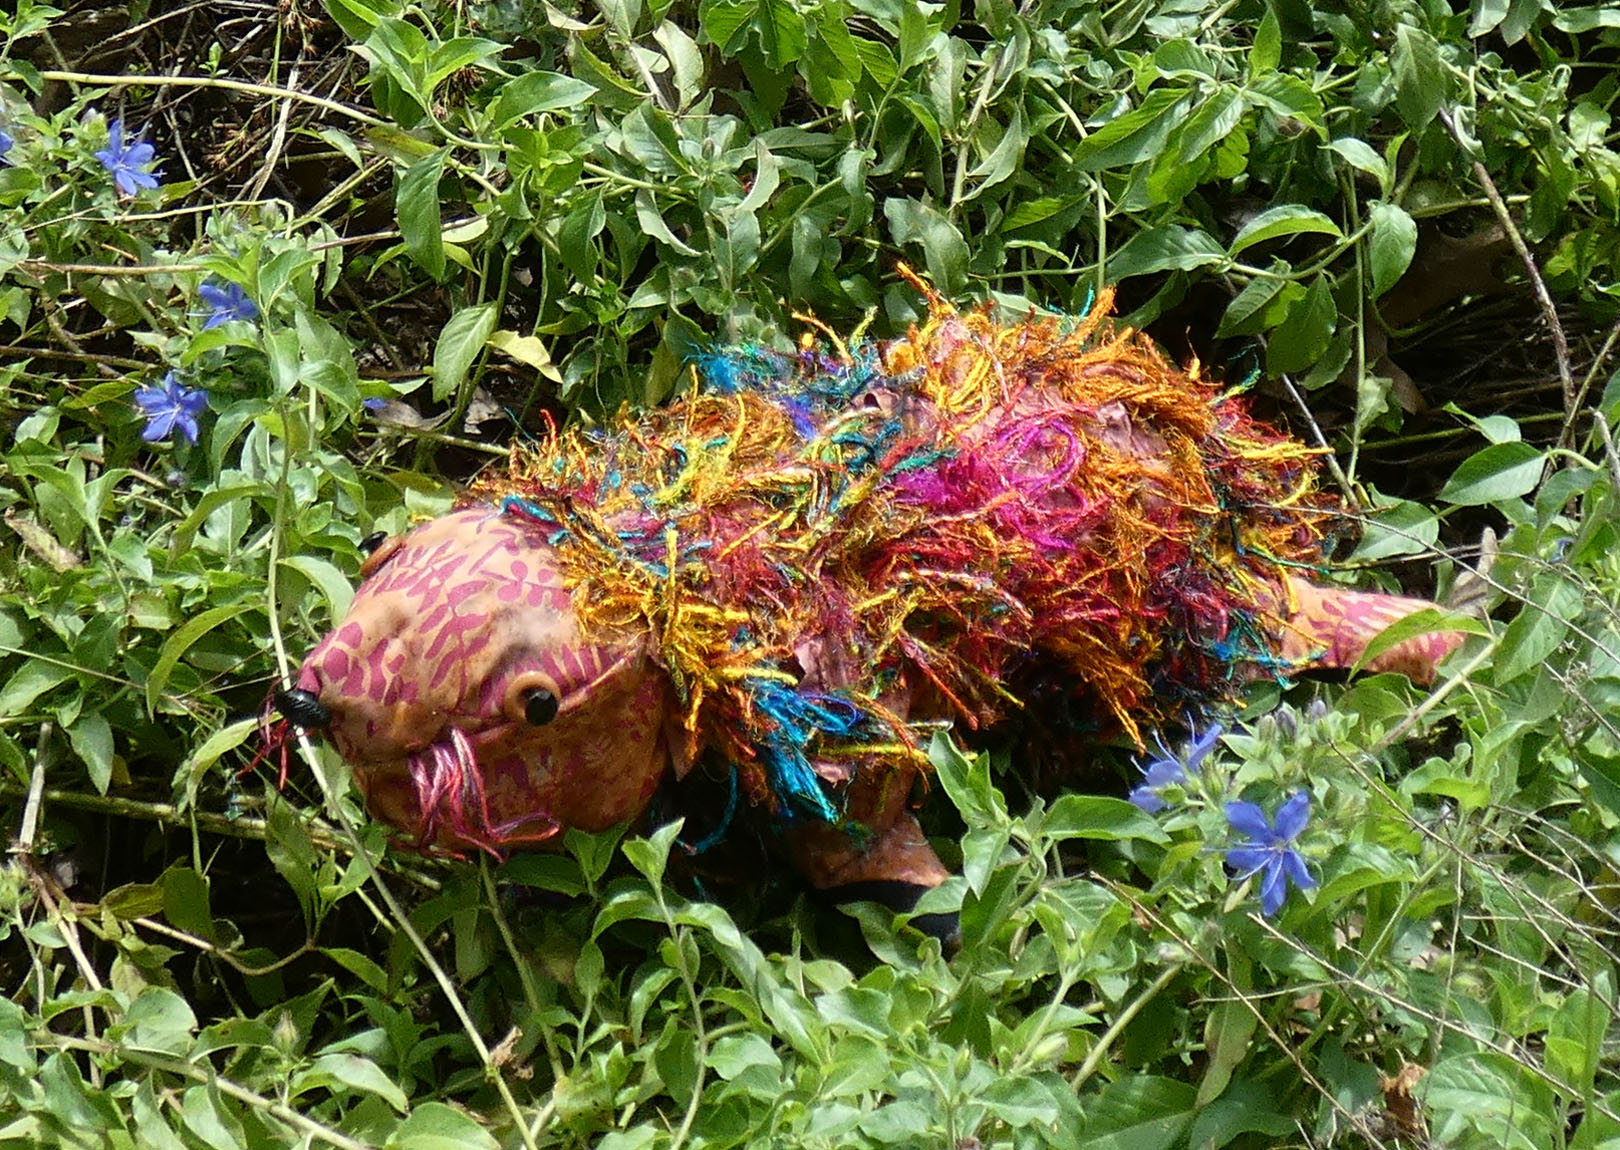
My inspiration for Henrietta is the Polish Chicken, those chickens with the crazy head floof. They bring a smile to my face whenever I see them (I think I might look a bit like that when I get up in the morning). It all began with the black and white improv. My plan was to make the head floof black and white, too, but that was not to be. In order to do that, I needed to find my Sulky Water Soluble stabilizer, which I had tucked away in a spot I was not likely to forget - heh heh. I'm still looking for it! 

The head floof (I don't know what else to call it) would have been made by using two pieces of water-soluble stabilizer, a base piece of fabric, and trimmings from cuttings. The trimmings are piled atop the base fabric, then that is sandwiched between the two pieces of water-soluble stabilizer. Then you sew it down with a thread that matches the trimmings, sewing over and over, until you feel that the trimmings are well-anchored to the base fabric. The last step is to wash off the stabilizer and let it dry. 

I used raw-edge appliqué for the entire piece, matching the thread. For the body, I stitched around the outline, then stitched vertical "feather-like" lines in the body and tail. You can't really see them that well, but here's a little peek. 


For the head floof, beak and waddle, I just did a simple outline stitch in matching thread. Henrietta has eyes under that floof, I'm pretty sure, but she didn't bother to let me fuss with them. 

Here's a photo of that floof, up close. 


She has quite the floof, doesn't she?! I told you she wasn't any ordinary chicken! Haha! The trimmings are from the cutting for my Postcards from Sweden quilt; I couldn't bear to throw the trimmings away, they were so bright and fun. Who knew that I needed to save them for Henrietta?

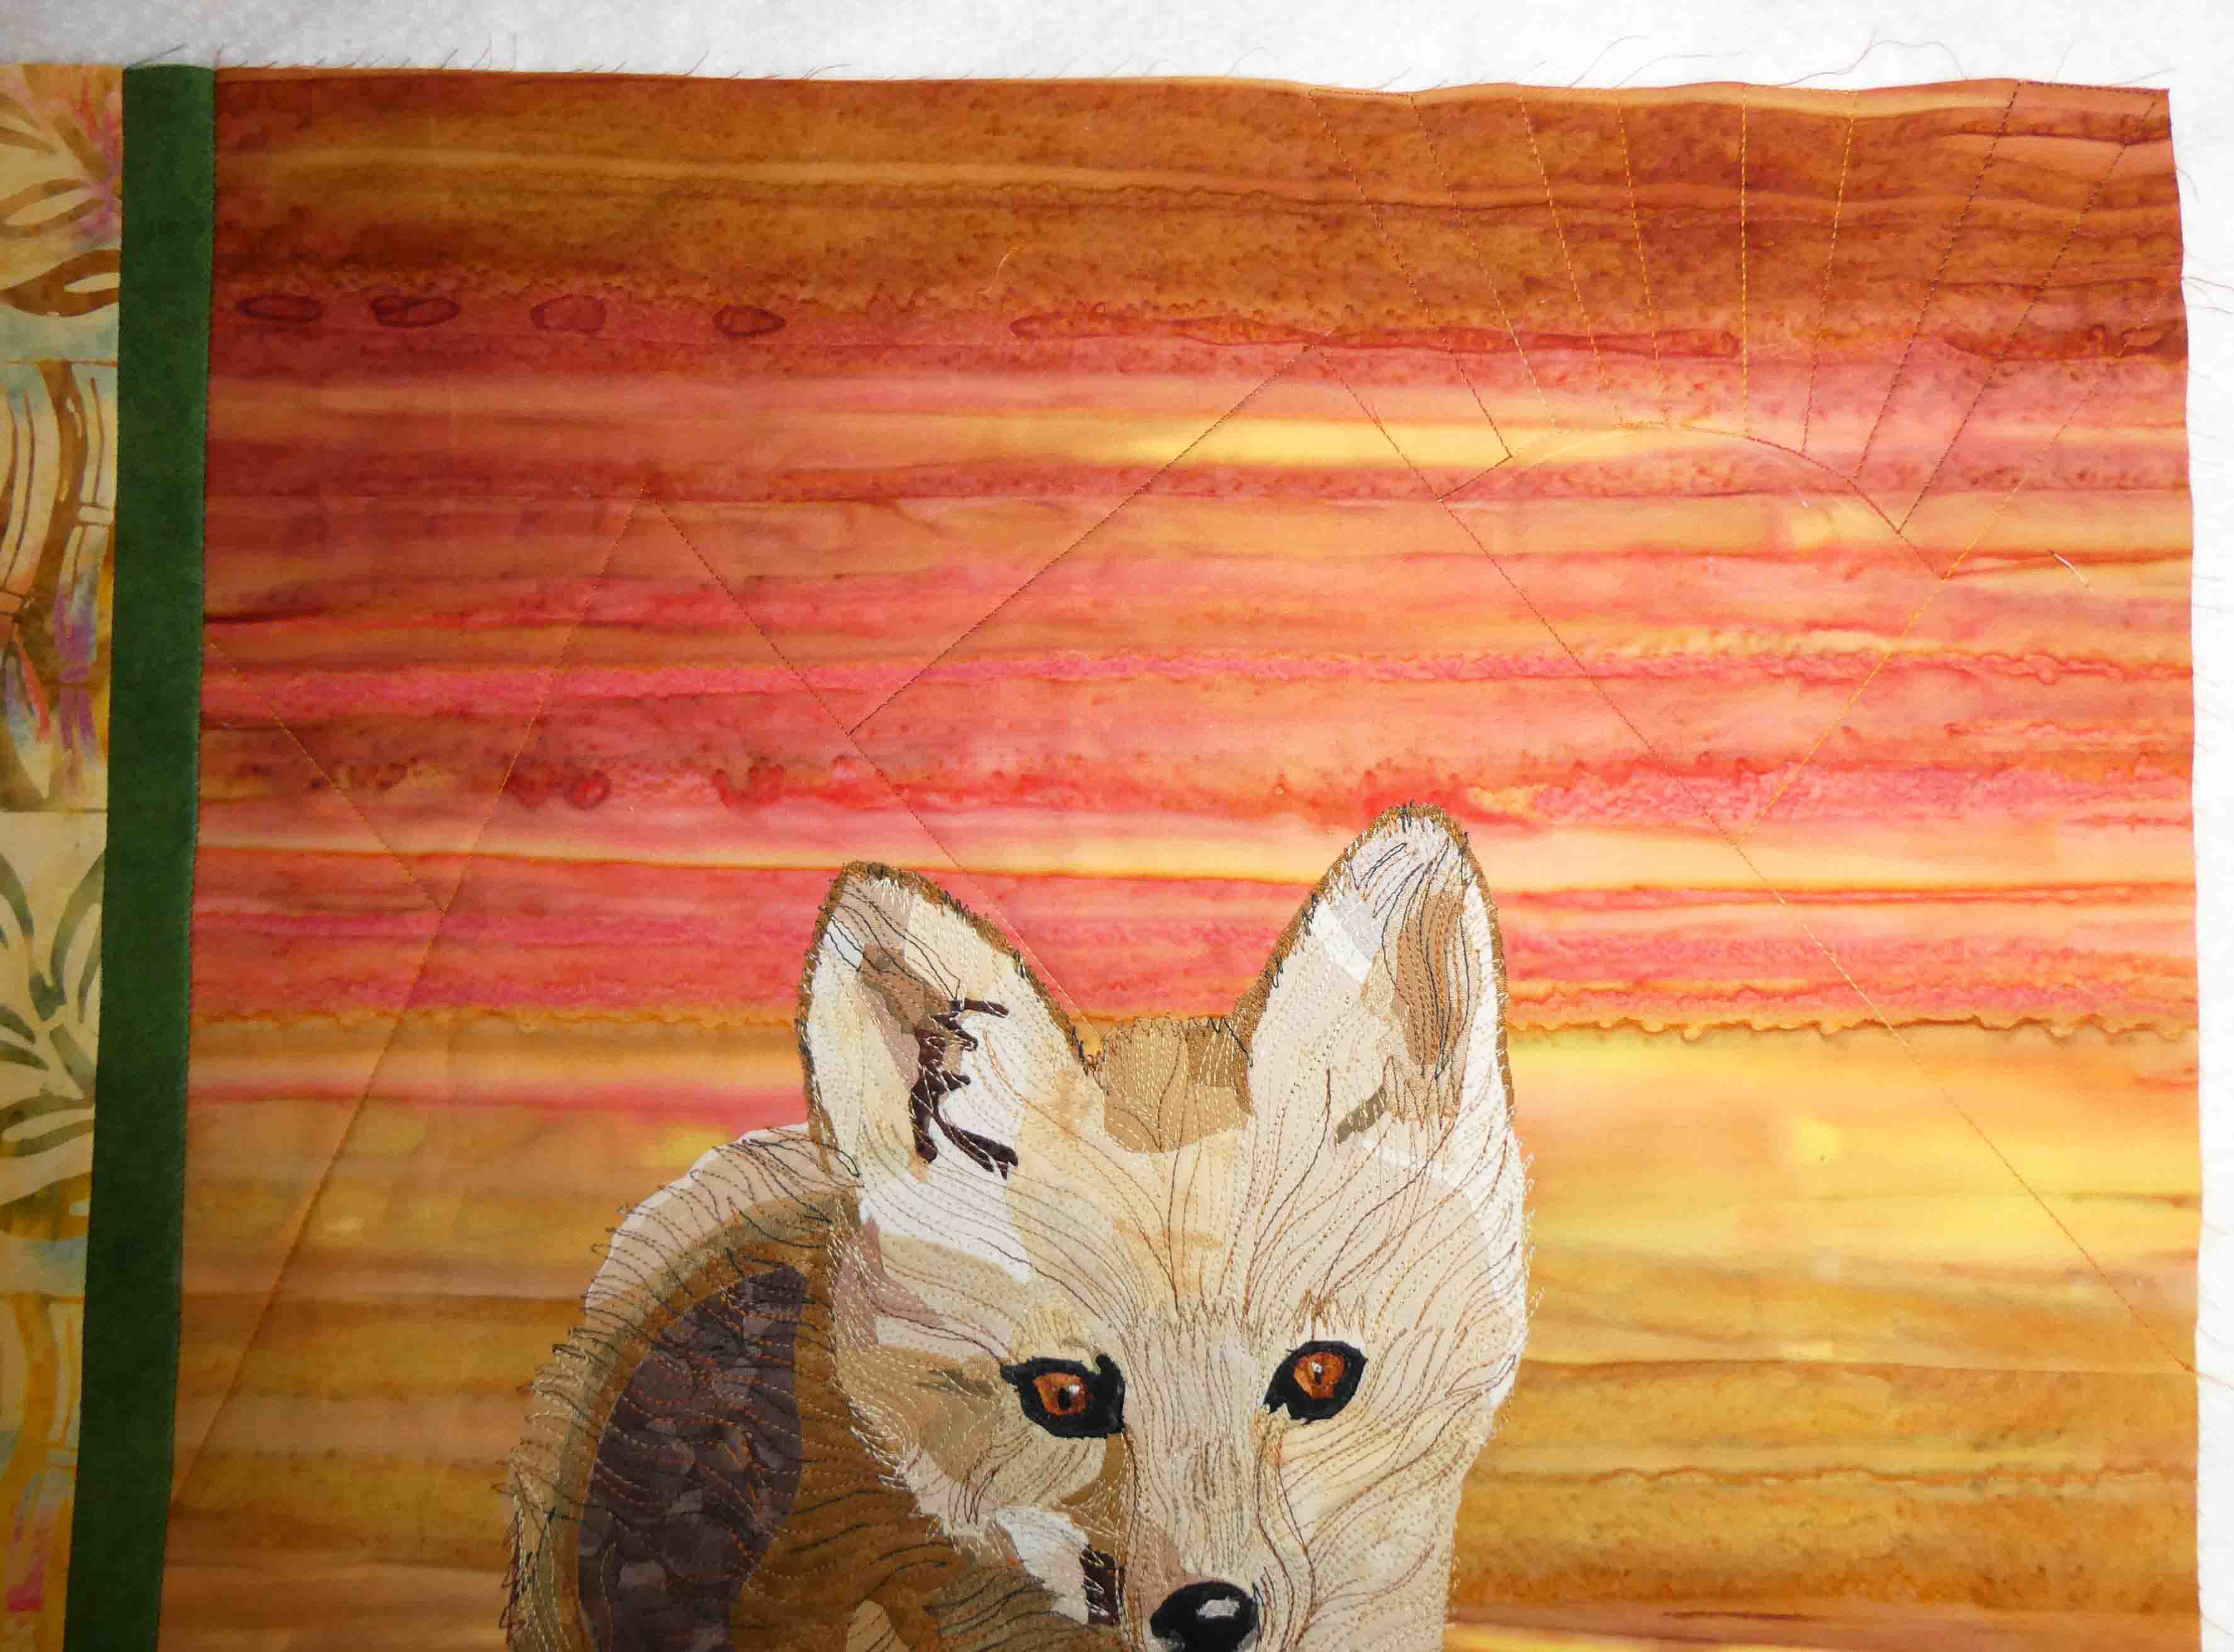
I pondered how to quilt her. In the end, I decided to use the same quilting idea as I did for my Sundance the Rooster quilt (I'll link all of these past quilts in my other blog post). Just simple rays behind her, to show her off a bit. I wanted to main focus to be on her. 

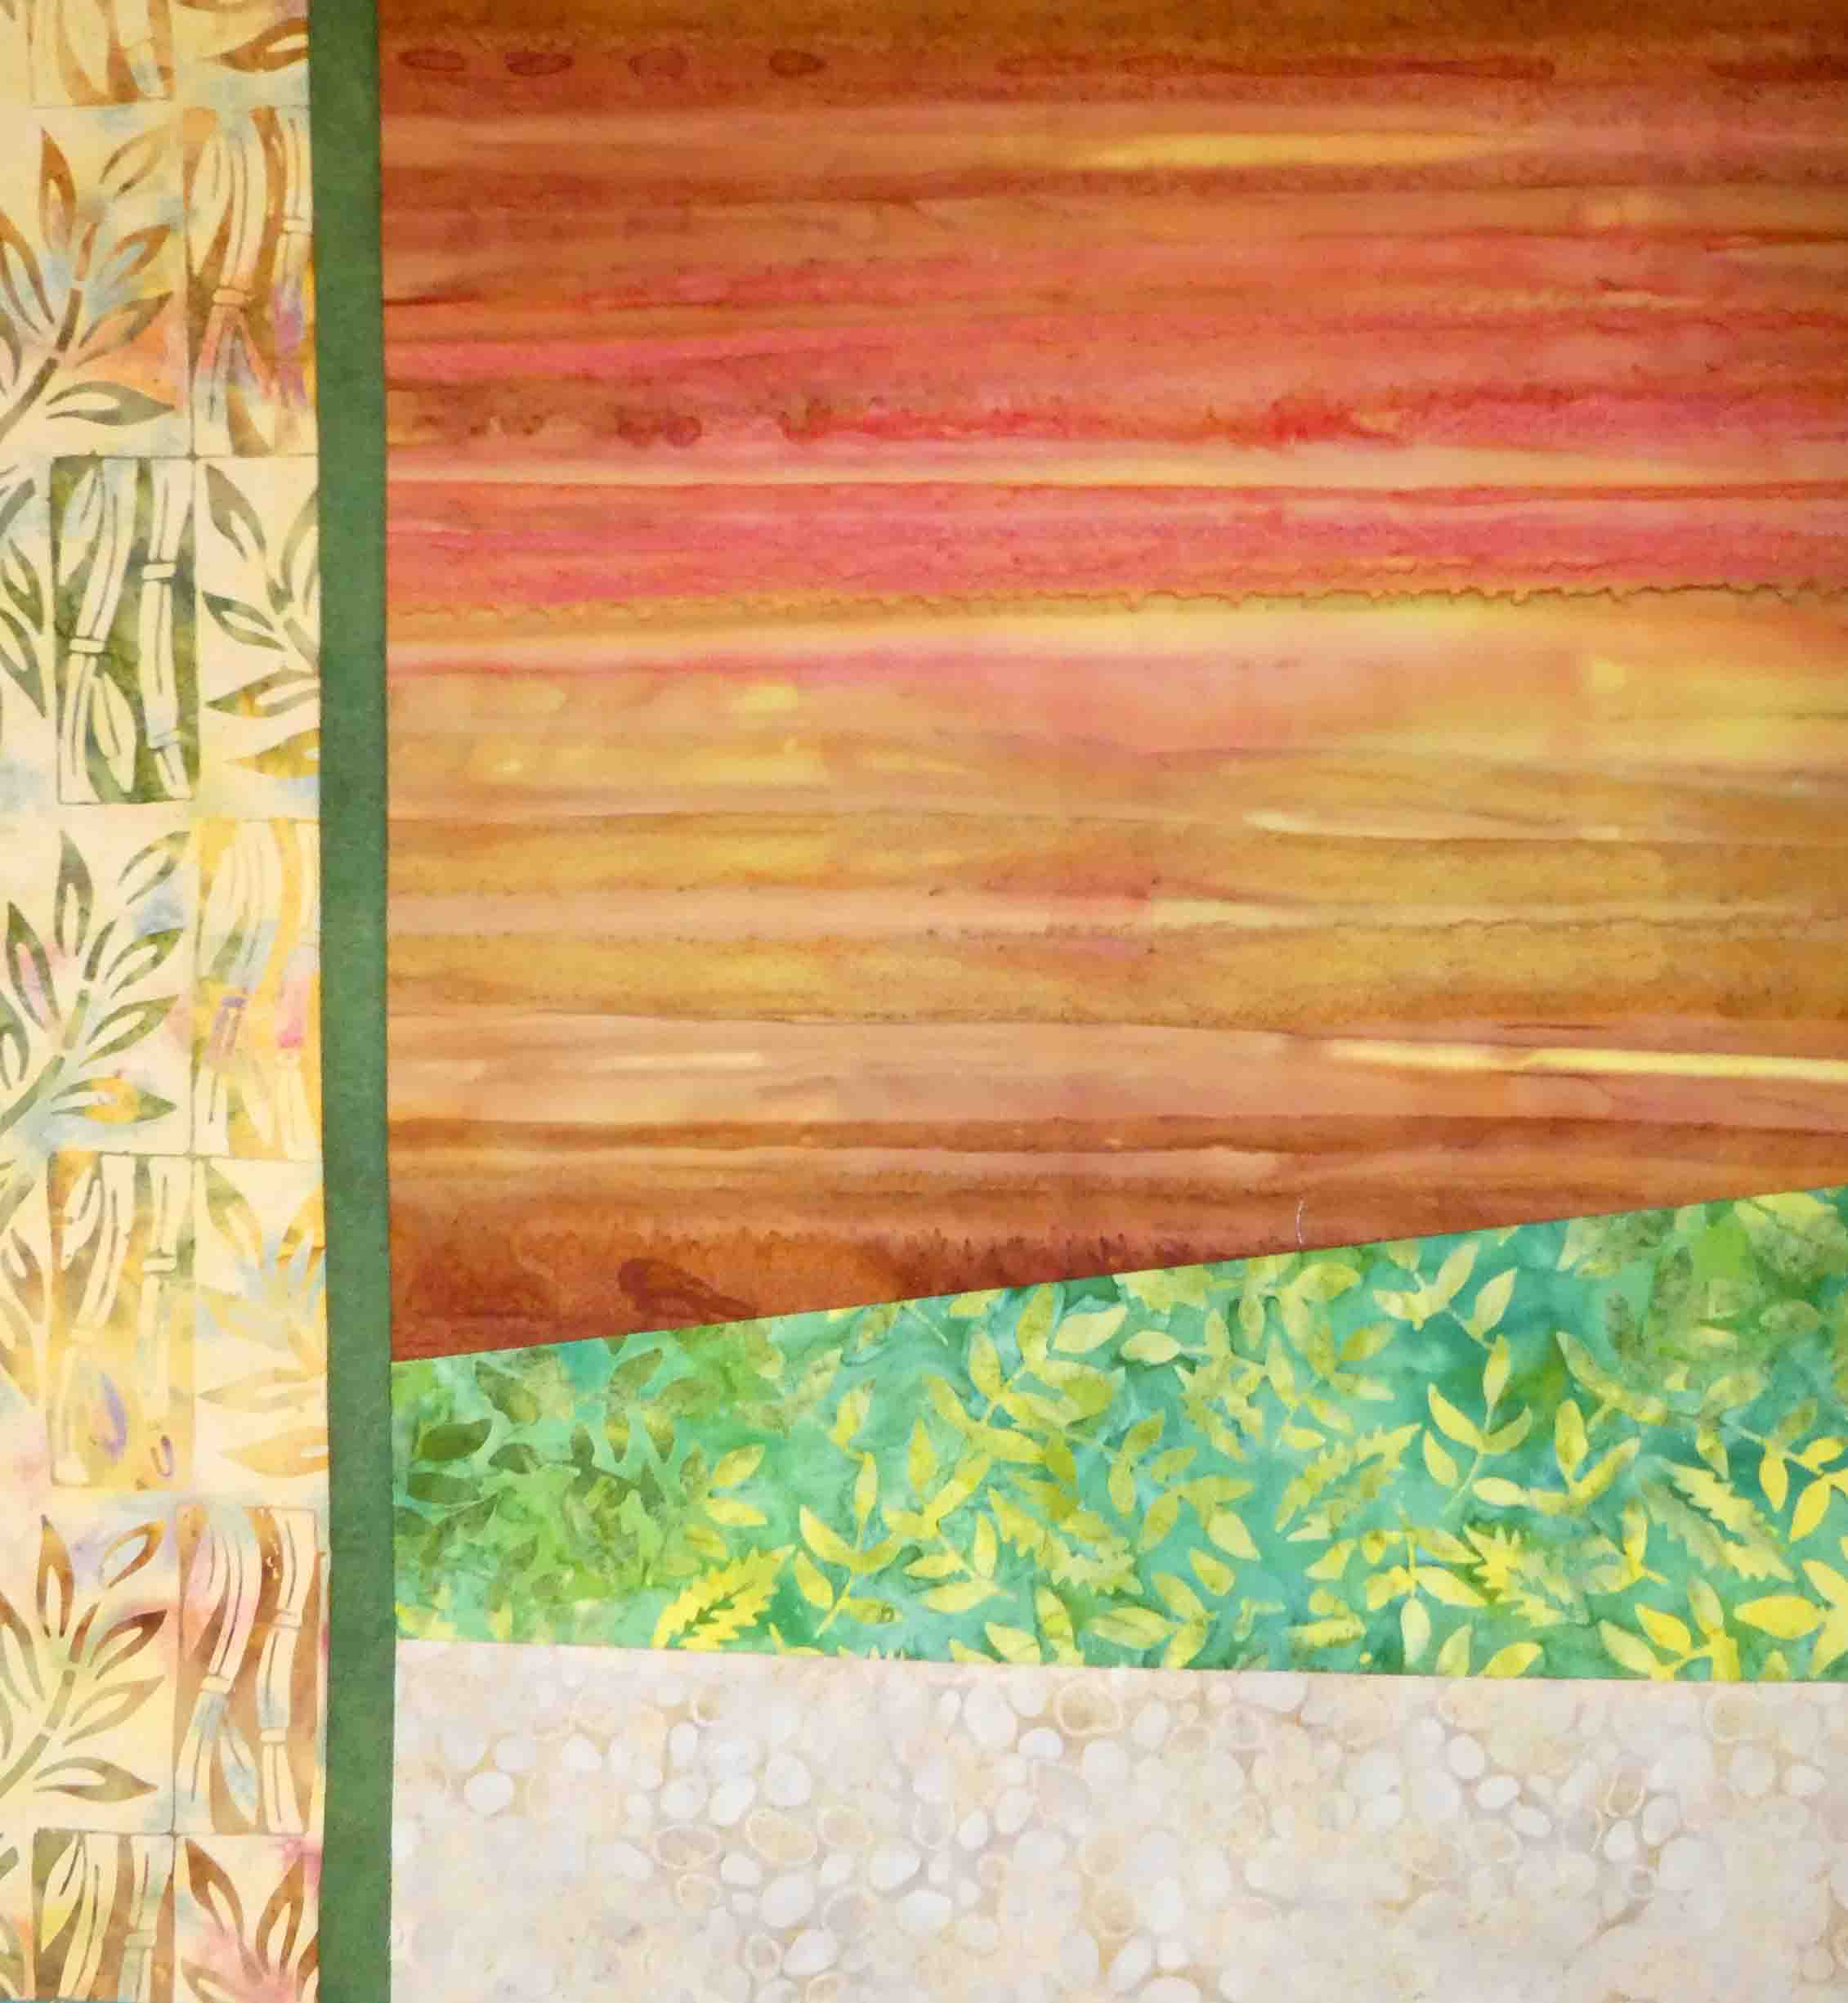
For the backing, I used a piece of bright blue Grunge. You can see the quilting a bit more from the back view. 


Henrietta measures 16" x 20". All of the fabrics are from my stash. This was such a fun theme, once I figured out what to make! 

Wendy

Animal Kingdom: Fox Trot

The prompt, "Animal Kingdom," was my submission. I wanted to make a quilt from this original photograph taken by my friend from high school, Carol Galloway. This is Carol's original photo. 


Before I go on, I should say that Carol and I have known one another since the late 60's. She and I sat beside one another in our school band. We both played clarinet. We lost track of one another for many years, but then caught up again on Facebook. As it turns out, Carol is a very talented wildlife photographer. I'd be happy to even find the wildlife she finds for her photography. As her friend, I appreciate her photos of animals in their natural habitat, engaging in natural behaviors. I would never get a chance to see them any other way. If you're on Instagram, you can see more of Carol's beautiful photography by searching for "cgwoodchip" or you can click on that link.

While I was making the quilt, I shared my progress with Carol. This is what Carol told me about her photo:

I recognize this little one!! This den had 11 kits last year, in a field owned by a cemetery. But, they did not come back this year. I stop by once a week just to check since foxes are known to change natal dens from year to year, and to move their kits around as they get bigger.

Okay, so this is how I made my quilt. I first cropped the image to fit my large format printer paper. I use an app called VectorQ to create an image easier to work with for my purposes, creating delineation between shades of color. When I printed it, it looked like this:


While I've made many animal "pawtraits," this fox is the first wild animal I've created. 

For this project, I was trying out a new product. I've always used transparency sheets...the kind used for overhead projectors...and that has necessitated taping them together to make them large enough. This time I used some plastic sheeting, available at JoAnn and probably other craft outlets. It comes in different weights, and I chose the heaviest weight available at JoAnn the day I went shopping. The photograph is taped down to my work surface, and then the plastic sheeting taped over the top.


Then, I go to work tracing, using a fine tip Sharpie. Sharpies are the only pen I've found that won't smear when applied to plastic.


I always write "right side" on the traced image. Since I'm doing fusible applique, I want to remember to trace on the opposite side since I'll be producing a mirror image of the piece I'm working with. Then, I turn the template back to the right side for guiding placement of the fusible piece.


And then, I paw through bins of scraps looking for appropriate pieces, sorting by value.


The fox was first constructed on a teflon pressing sheet. It allows me to fuse the pieces down. When I'm finished, it can be peeled off the pressing sheet and applied to the fabric background. Tweezers are an essential tool since some of the pieces are very tiny.


I always start with the eyes and work my way out.


Here's the progression over several days.


When he was finished. I laid him out, experimenting with different background fabrics...


Until I settled on these.


He was then thread-painted using these threads. 


The thread painting is done through the quilt top and the batting. 


Here are some details.


Whiskers were added last.


When that part was finished, I add the quilt back for quilting, and used these threads.


I quilted some mountains and a sunset in the background.


A leafy motif in the "grass."


And some pebbling in the "dirt."


Then a "Greek key" in the left-side border.


Then it was ready for binding.


And here is my finished quilt. I'm calling it "Fox Trot," and it finished up at 24 x 22 inches.


Here's how it looks from the back:


The quilt was my gift to Carol for graciously giving me permission to use her photograph. In fact, Carol has given me blanket permission to do anything with any of her photographs at any time. And when I see her beautiful photography, it makes me want to turn each one into a quilt. 

Remembering Lucy...


 This quilt began as a small memorial to my dog, Lucy. We were lucky enough to walk through life together for almost 14 years and she was quite seriously the best friend I have ever had. Then, one very sad day, I found myself continuing that walk without her at my side.

I was originally intending to add more detail but, as I stitched, I pondered that this actually illustrates the experience of many pet owners and (you might think this a stretch!) even a comment on our times as mass extinctions diminish the animal kingdom and leave us humans in a lonelier, though ironically more crowded, world.

I feel oddly about calling it finished because my inclination is always to go for over-the-top colour and I'm very tempted to do just a little colouring in but I am resisting because I think maybe this rough outline style might work better on this occasion. I'd be interested if anyone has any thoughts on that.


I'm really looking forward to seeing everyone's quilts this quarter, Janine :)


L E phants

  This pattern was purchased several years ago and I kept putting off making it...until this challenge. It had two ways to do it, one was needle turn by hand and the other was using fusible web. I did it the latter way. When I began, I thought it would be easier since I was going to cut the pieces out and they would be in the correct places to iron on, but then I discovered that was not so. I ended up fusing all the pieces in the center with a tiny iron before cutting to make sure they stayed. After all was cut, and fused, I machine sewed around the edges with a blanket stitch. Then did a little free motion down the trunks (my machine isn't working correctly and the free motion looks horrible with a lot of eyebrows! so you all don't get to see that).
 

Good Hair Day

 My project for this quarter's Challenge - Animal Kingdom, was inspired by our younger grandson and his love for these magnificent creatures.

He has several books that feature a Highland Cow who shares his name, which are frequent requests for his bedtime story. So, when it came to deciding upon a project a Highland Cow was the obvious choice!


Let me introduce you to Hairy, the Highland Cow :) 

I had notions of all sorts of fancy applique for my handsome, hairy creature but in the end went for simple applique. 

Two black buttons for the eyes are just peeking out from behind that rather unruly head of faux suede hair. I chose the faux suede because I thought that it would not fray, but it seems to be shredding in places along the cut edges, so I might have to revisit that at some stage. 

I was delighted to come across the spiky, thistle fabric in my stash (an Anna Marie Horner impulse buy many moons ago!) as it is the perfect background for a Highlander, don't you think? 


A pillowcase backing and we are all set for bedtime reading when our grandsons visit next week! 


Looking forward to seeing how the rest of my fellow Endeavourers have responded to this quarter's challenge, I will, no doubt, be amazed and inspired as always :)