Showing posts with label Barbara Stanbro. Show all posts

Wednesday, 1 February 2023

Catch and Release

This is my quilt made for the "Portrait" prompt. It's inspired by a photograph taken when we traveled to Swan Valley, Idaho, to see a quilting friend. My husband, Mike, was nearing retirement at the time, and he was interested in taking up fly-fishing in his next life. Our friends generously arranged for a fishing trip on the Snake River near their Idaho home. 

Here's the original photograph of Mike with a cutthroat trout he caught that day.

For a long time, I've wanted to render this photo into fabric, and this seemed like as good a time as any. I sorted through my scraps, looking for anything that could be used.


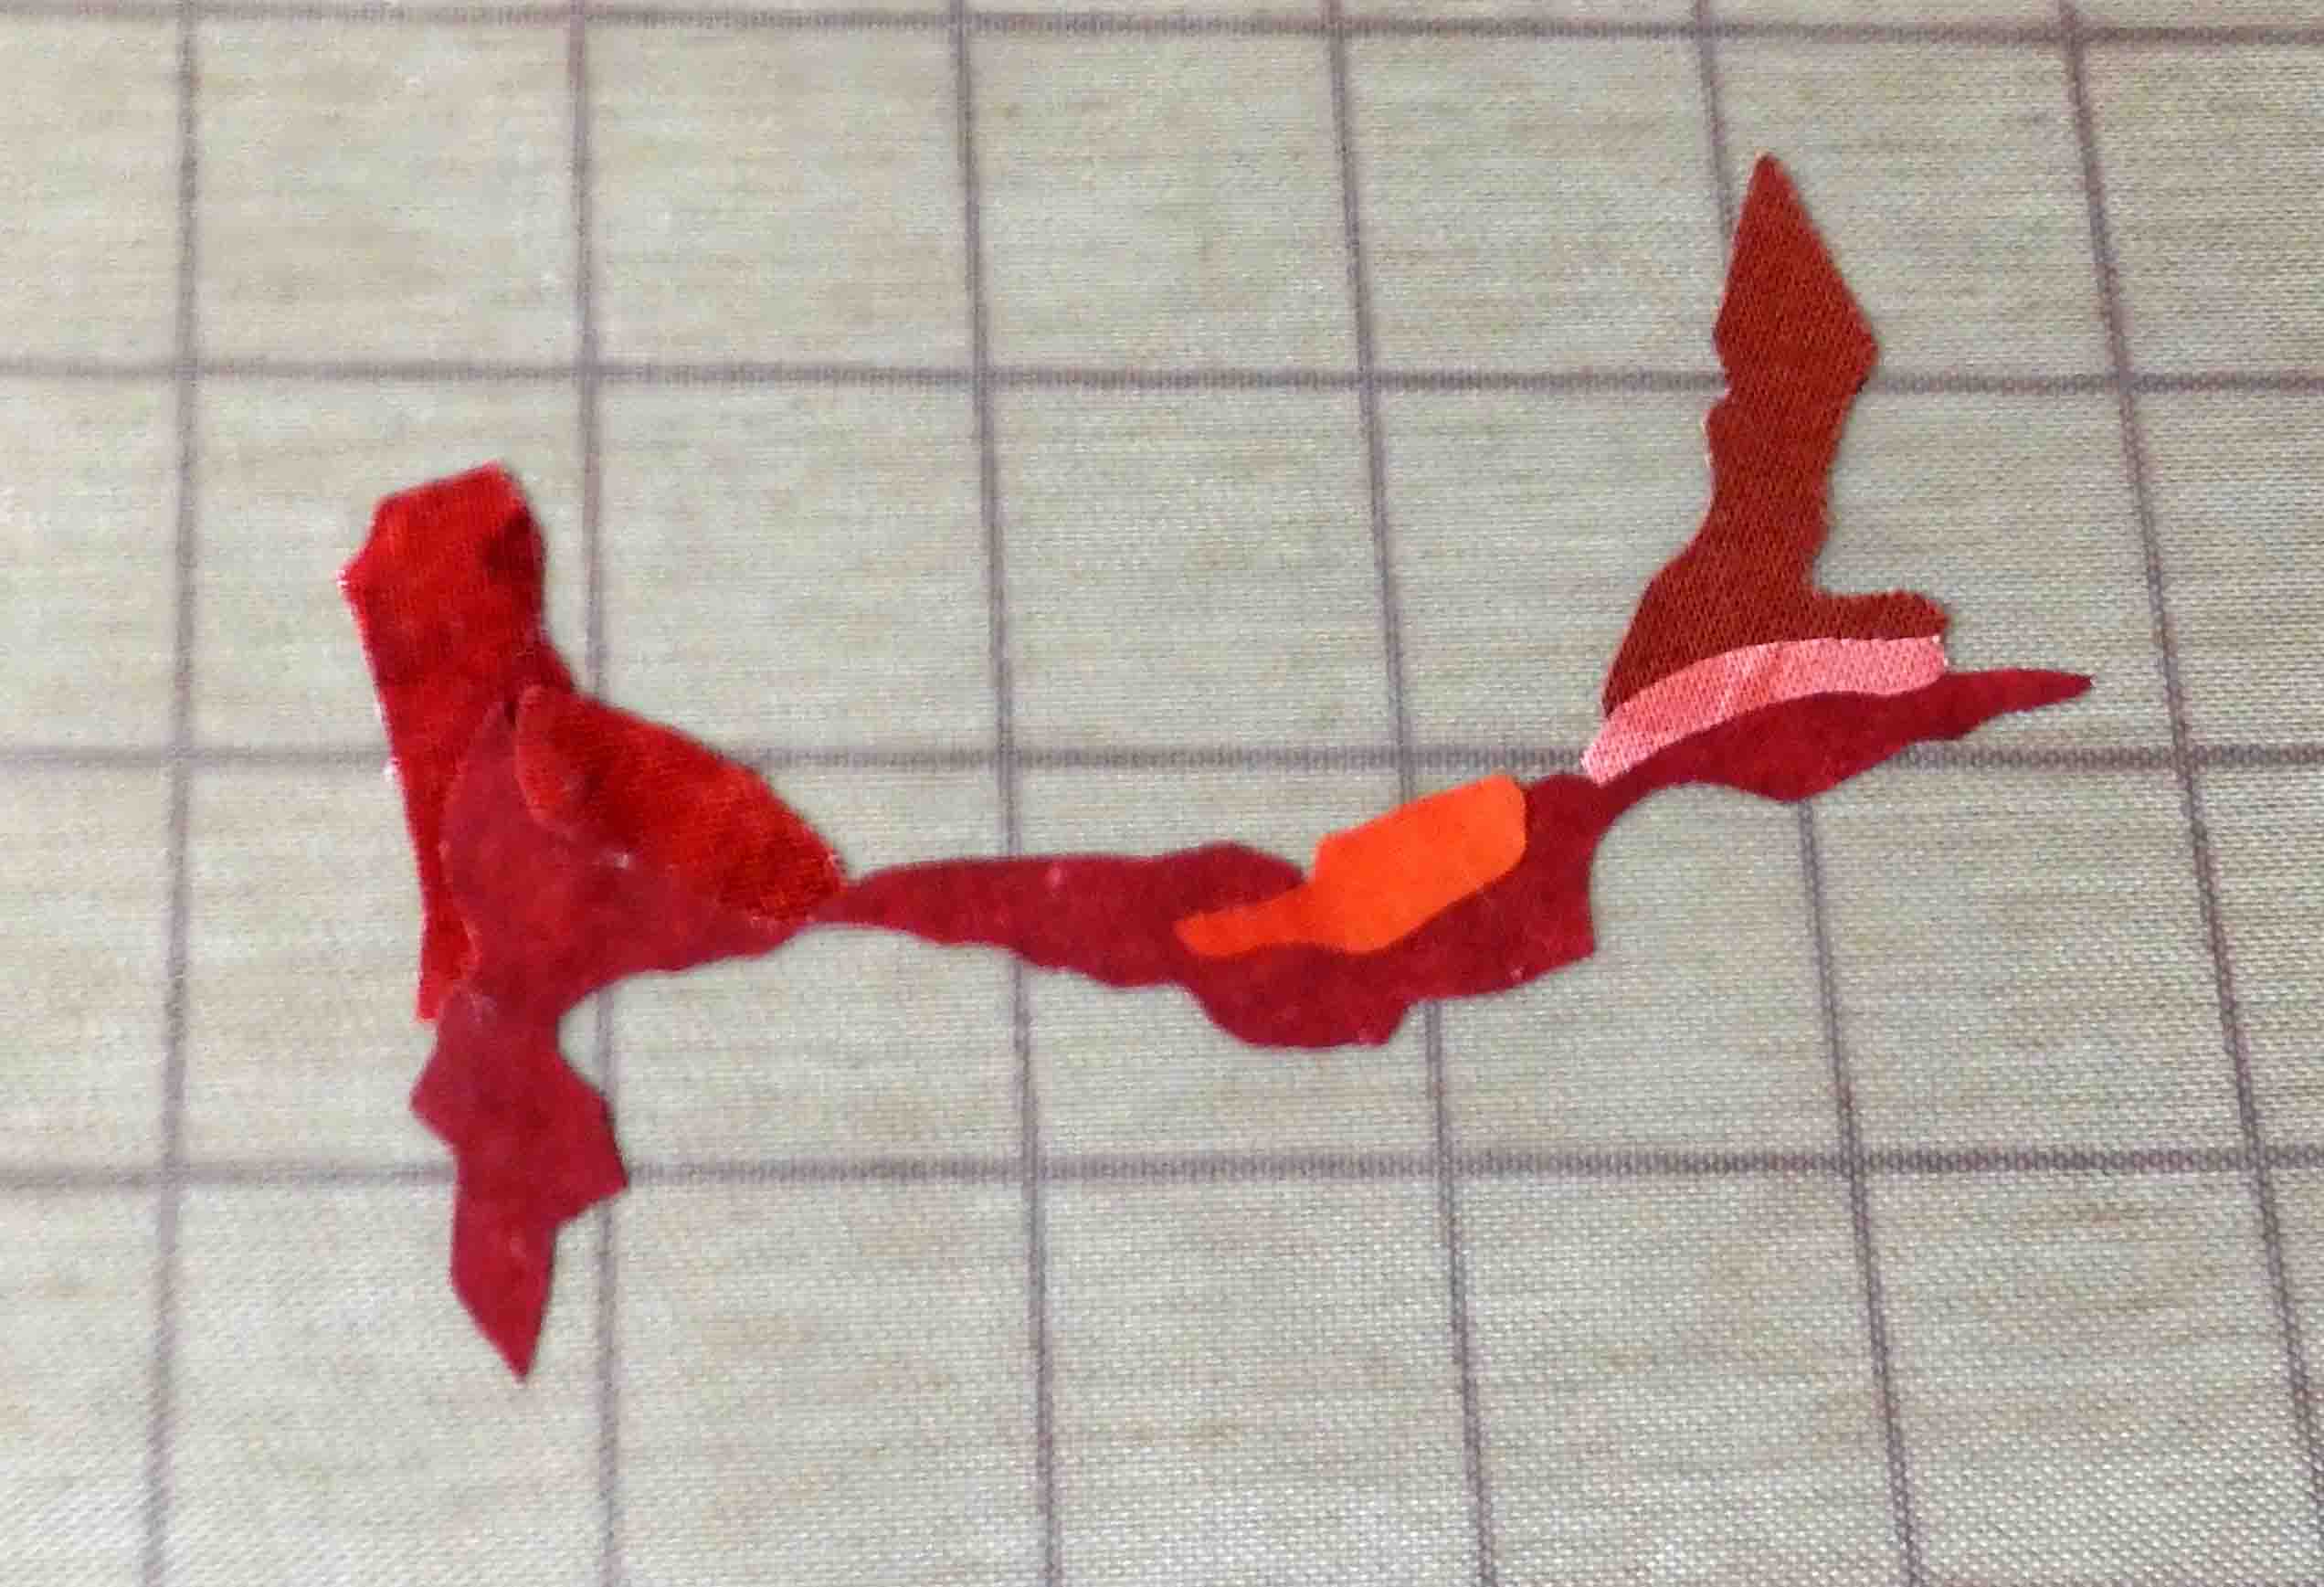
And then, I went to work, starting with the jacket below the face.


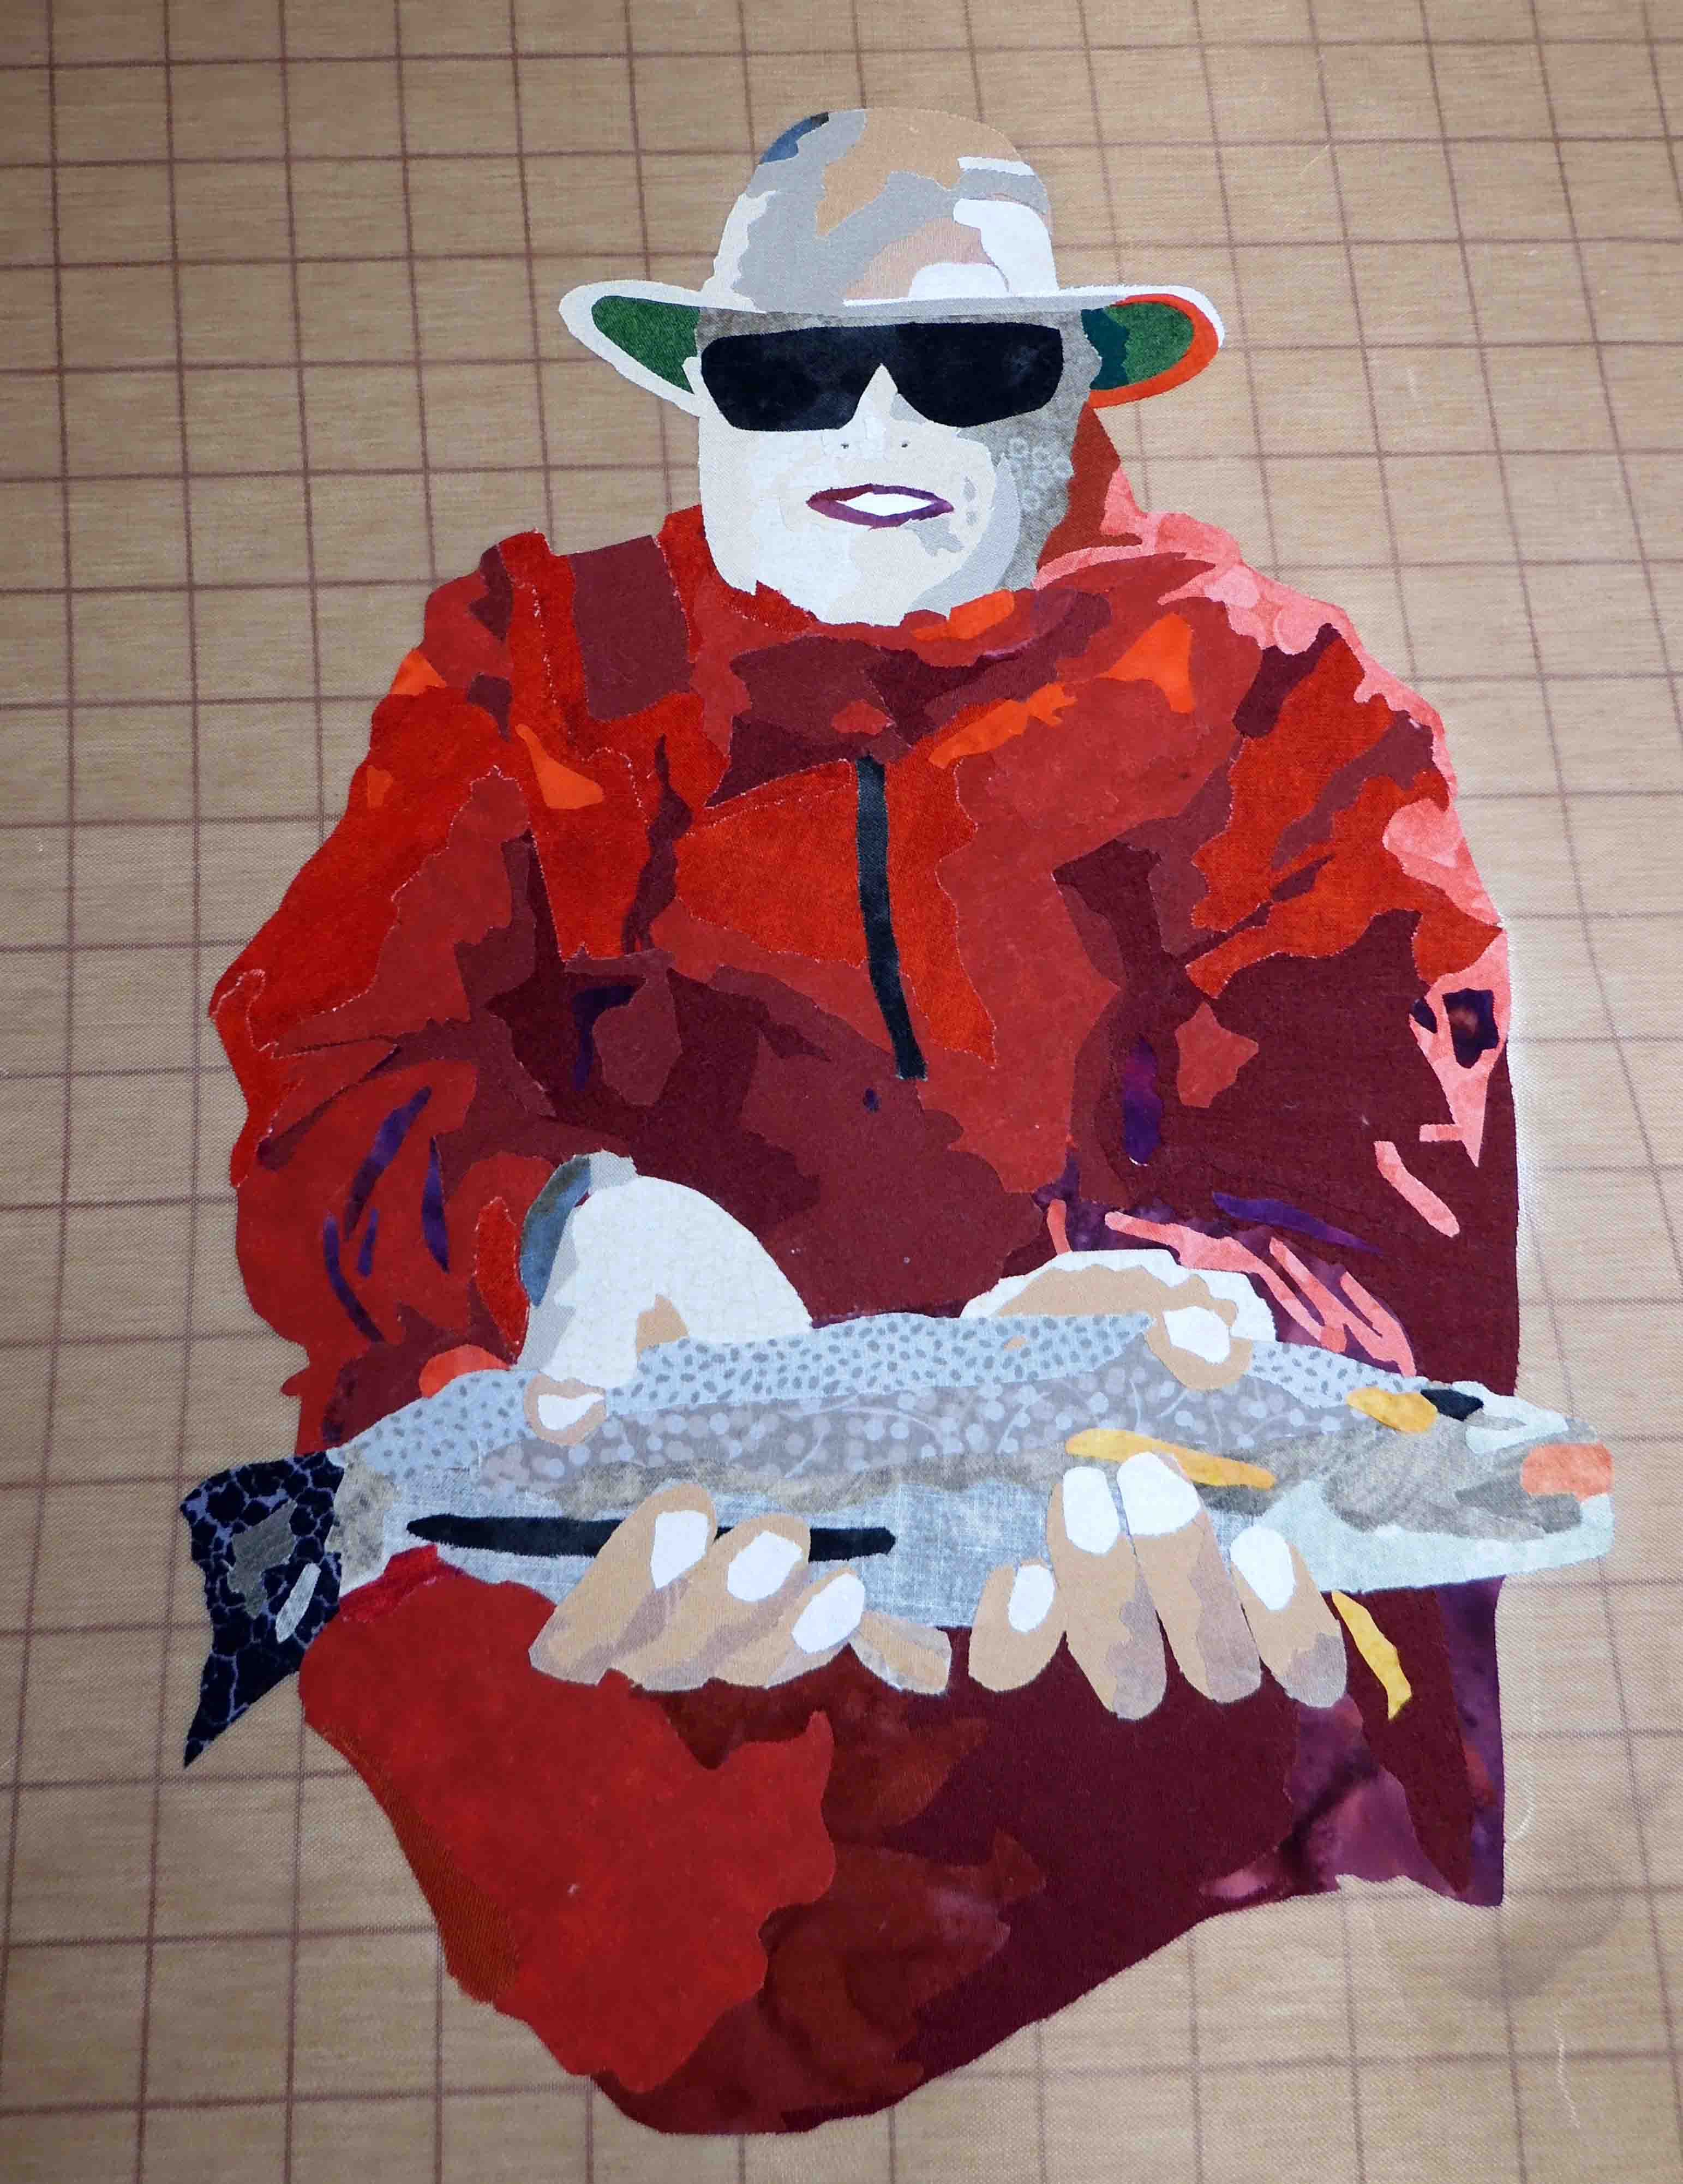
When the whole portrait was done, it looked like this.


I had a fabric in my landscape bin that made a perfect background. I fused it to the background and then added the border. Batting was added without the backing, and then it was thread painted. When the thread-painting was finished, I added the backing and quilted it lightly. 

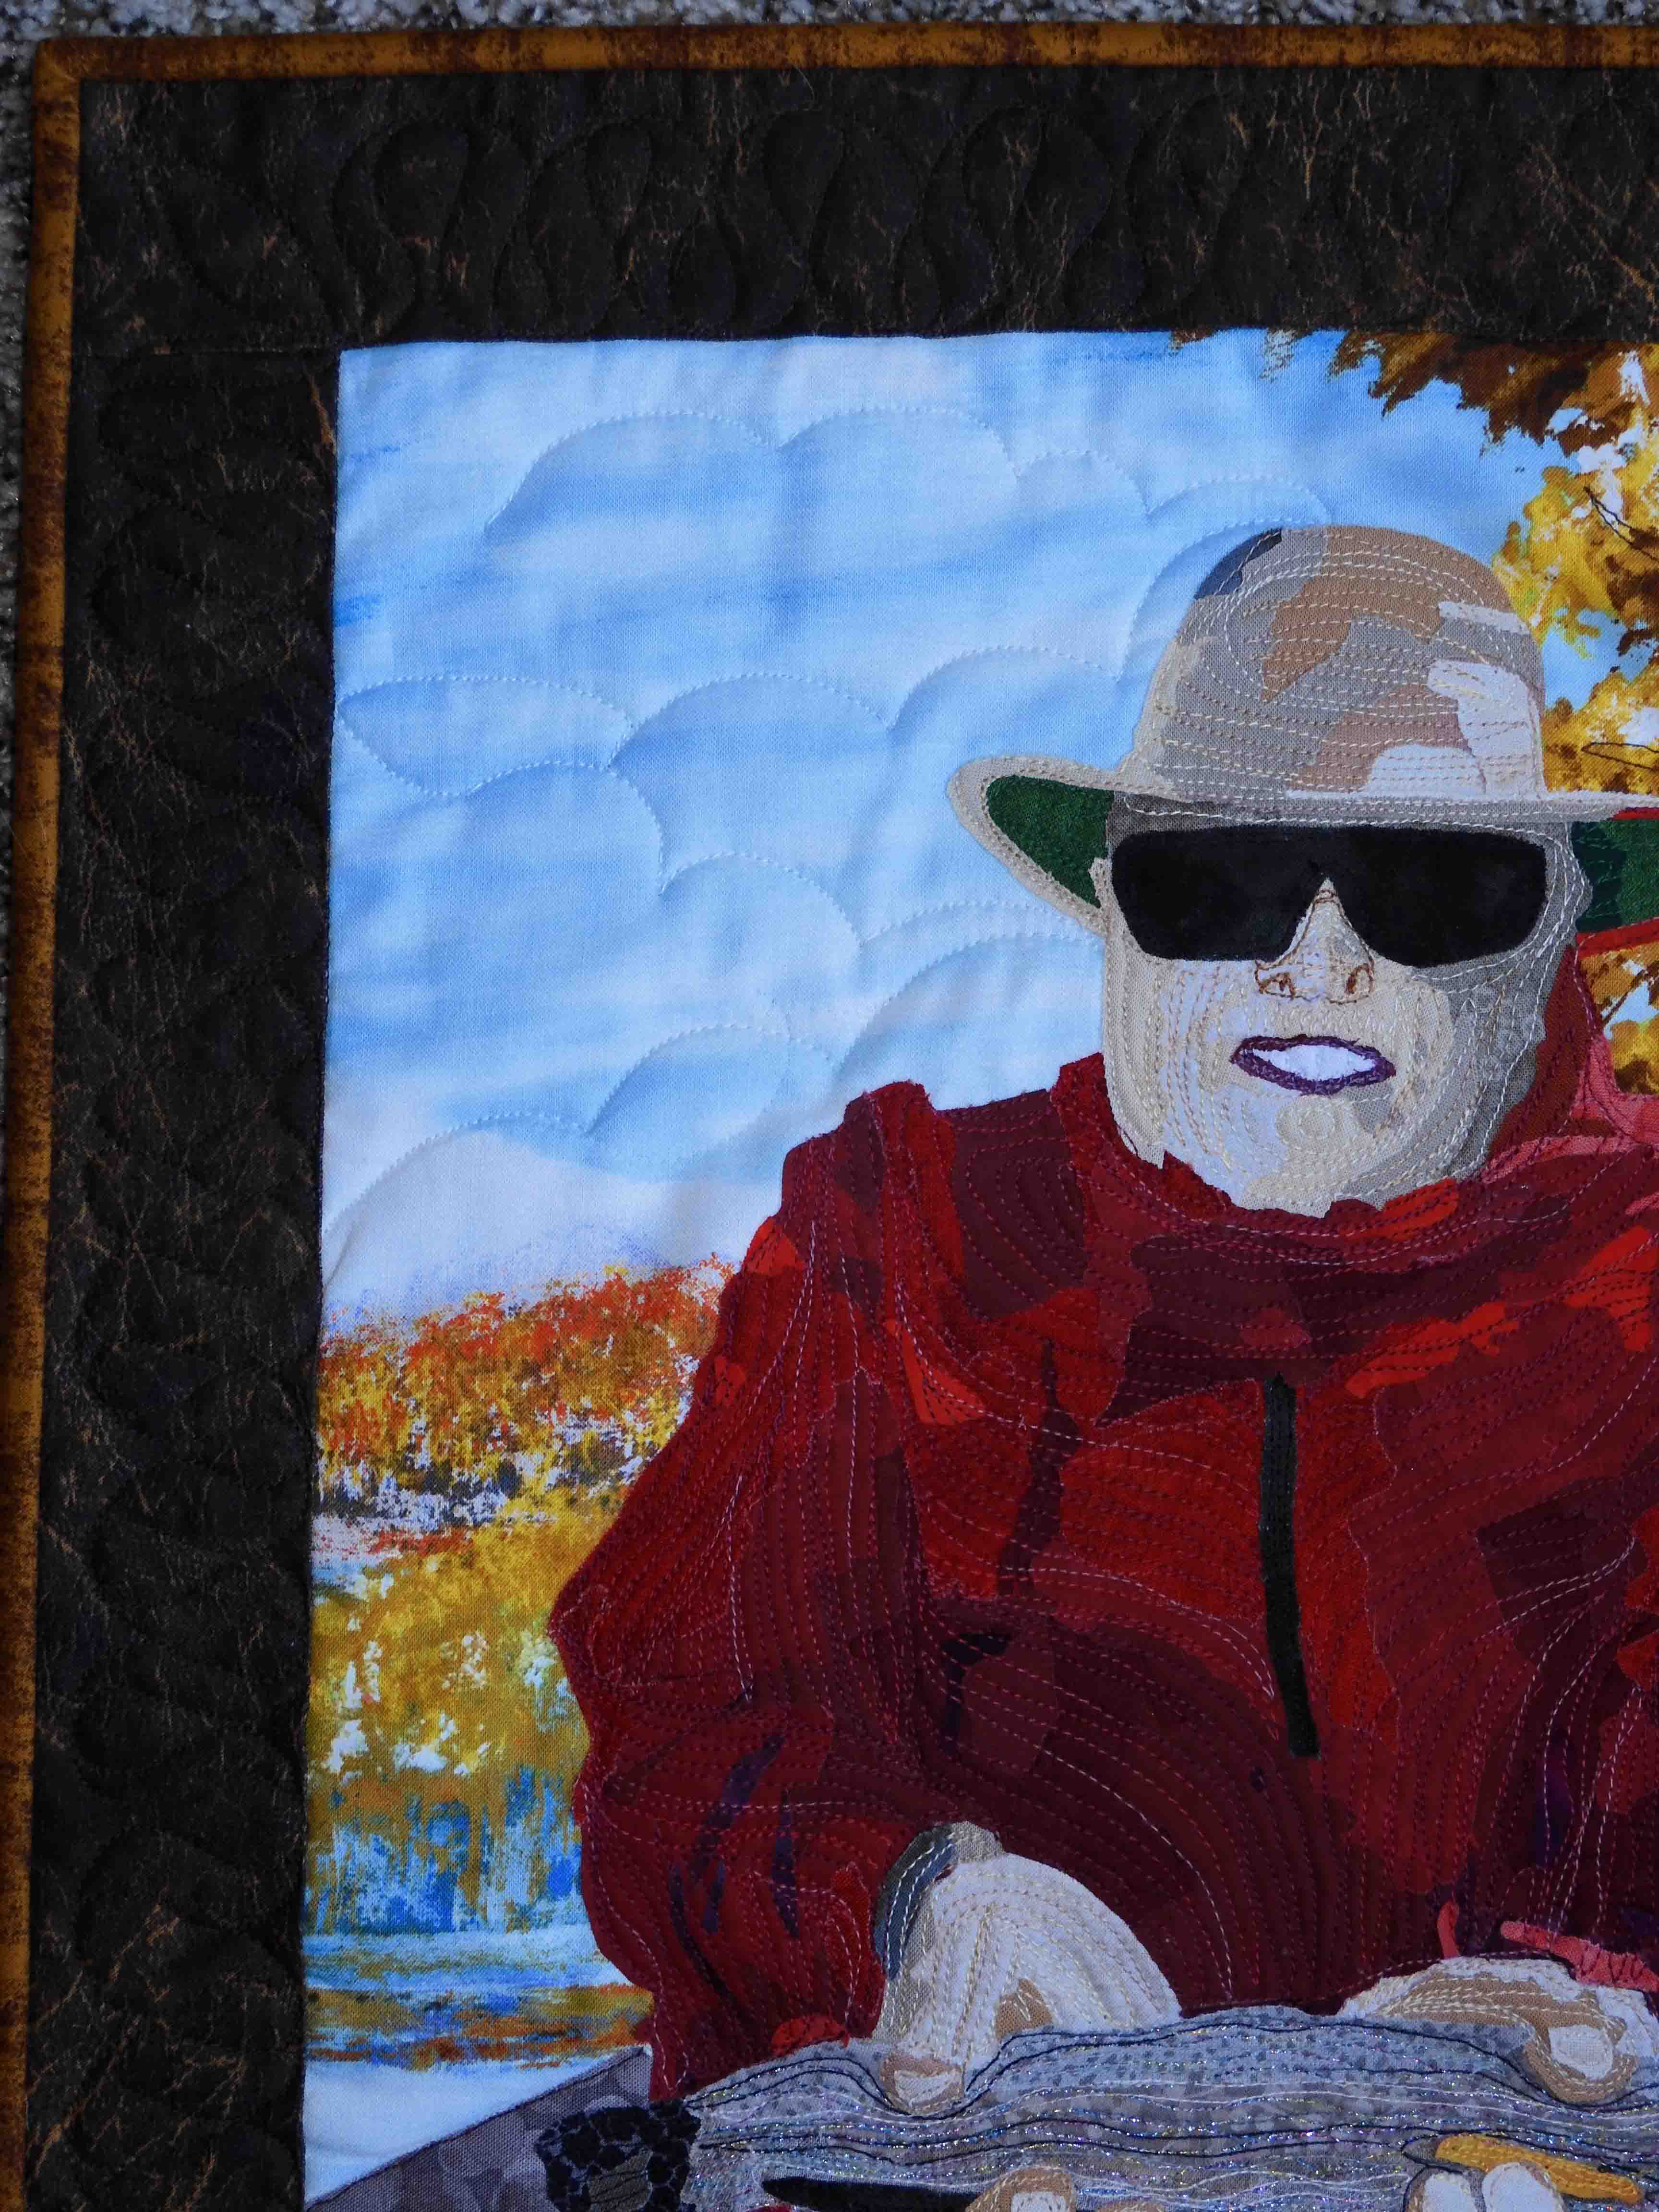
This is my first attempt at a full-on face. Prior to this, I'd only done human faces in profile. The nose was the hardest part for me to replicate.


I quilted some branches onto the tree, and did some quilting up and down the tree trunk.


Also, I quilted some clouds in the sky.


The fish was thread-painted along with the rest, but then I added some glitter thread to give it some sparkle.


Here's a close-up of the fish.


Backing up a little bit...


From there, I did a little quilting in the border, and then added a binding.


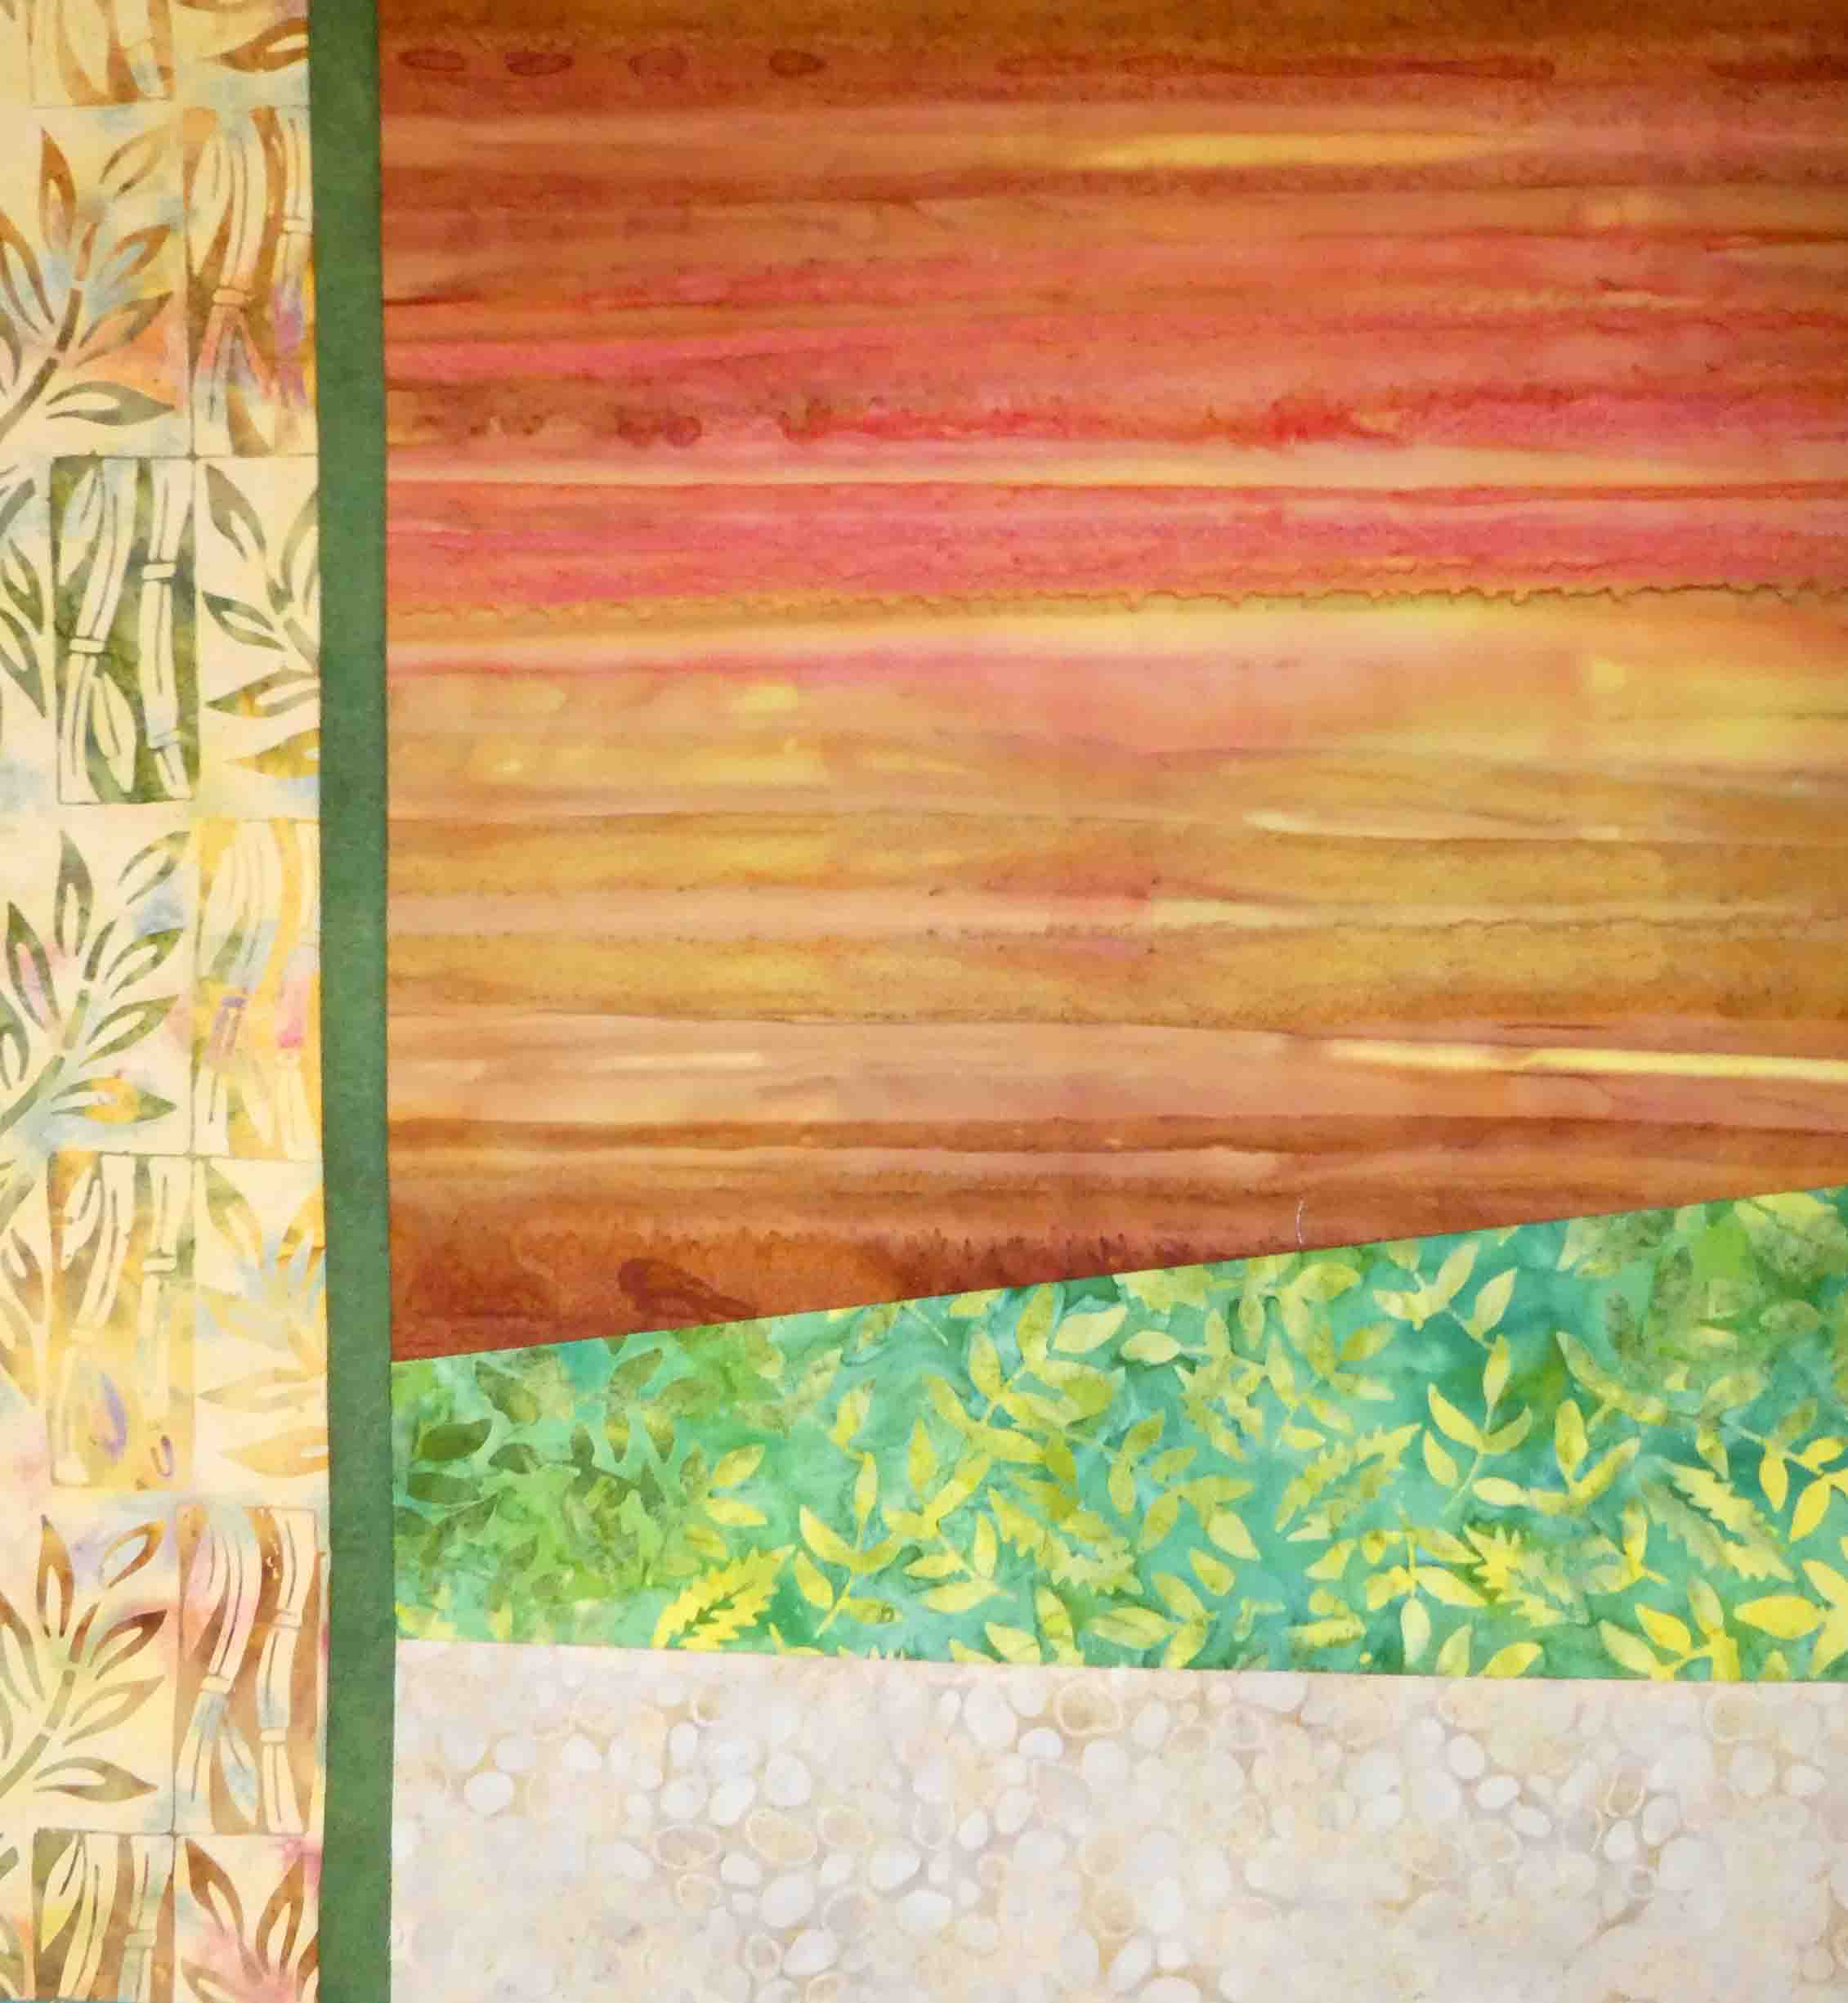
The back is made from this fabric that's been in my stash a long time. It was just what I needed.


And there you have it. My quilt, "Catch and Release," ends up at 21 x 16.5 inches. I had fun making it. I hope you like it.

Tuesday, 1 November 2022

Boustrophedon: Curves Ahead

 There were so many obstacles to my finishing this quilt, I wondered how I would be able to get it completed in time. First, my sewing room was dismantled toward the end of July after a plumbing catastrophe. The leak was discovered in April, and since then, we've been plagued by slow insurance adjusters and slow contractors. It's been very frustrating. 

When the prompt was announced at the beginning of August, we already had plans to leave on a two-month road trip. Our return wasn't expected until October 17th, and so there was just a small window of time for me to work on it. I decided my best bet was to hand embroider something while we were on the road, and then finish it upon our return. My hand embroidery was inspired by this image created by "ndgmtlcd." I've contacted him or her. I don’t know if “ndgmtled” is a man or a woman, but in any case, I’m using the image with permission. I'm grateful to "ndgmtled" for allowing me to adapt it for my purposes. 

I had some ideas about how to make it work for the prompt, and so I traced it onto a background fabric and went to work hand-stitching. This is my finished quilt. Mine is a literal interpretation of the prompt. It measures 15 x 18 inches.


Here's how it looks from the back. The backing fabric was a gift from a friend. It's a Kaffe Fassett fabric, called "Sharks Teeth." I cut it into three strips and faced the "teeth" in opposite directions.


Since my sewing room was still dismantled upon our return, I set up a temporary sewing space specifically to finish this quilt. I added the two borders to the quilt top, sticking with the "cow" theme. How could I resist using that Holstein fabric? It was some I picked up while traveling in Wisconsin...the "dairy state." Here's my little temporary sewing space.


When the top was finished, I added the batting and then used one of the fancy stitches on my sewing machine to add some machine stitching and quilting, filling out the design.


For that, I stitched just through the batting before adding the back, 


and then just lightly quilted it with some straight-line quilting.


The hand embroidery was tiny. In the image below, I've added my thimble for scale.


After completing the quilting, it was ready for binding.


And one more time...here is my finished quilt. I hope you like it. I had fun making it despite all the challenges.


With so many challenges, I decided to call my quilt "Curves Ahead."

Monday, 1 August 2022

Animal Kingdom: Fox Trot

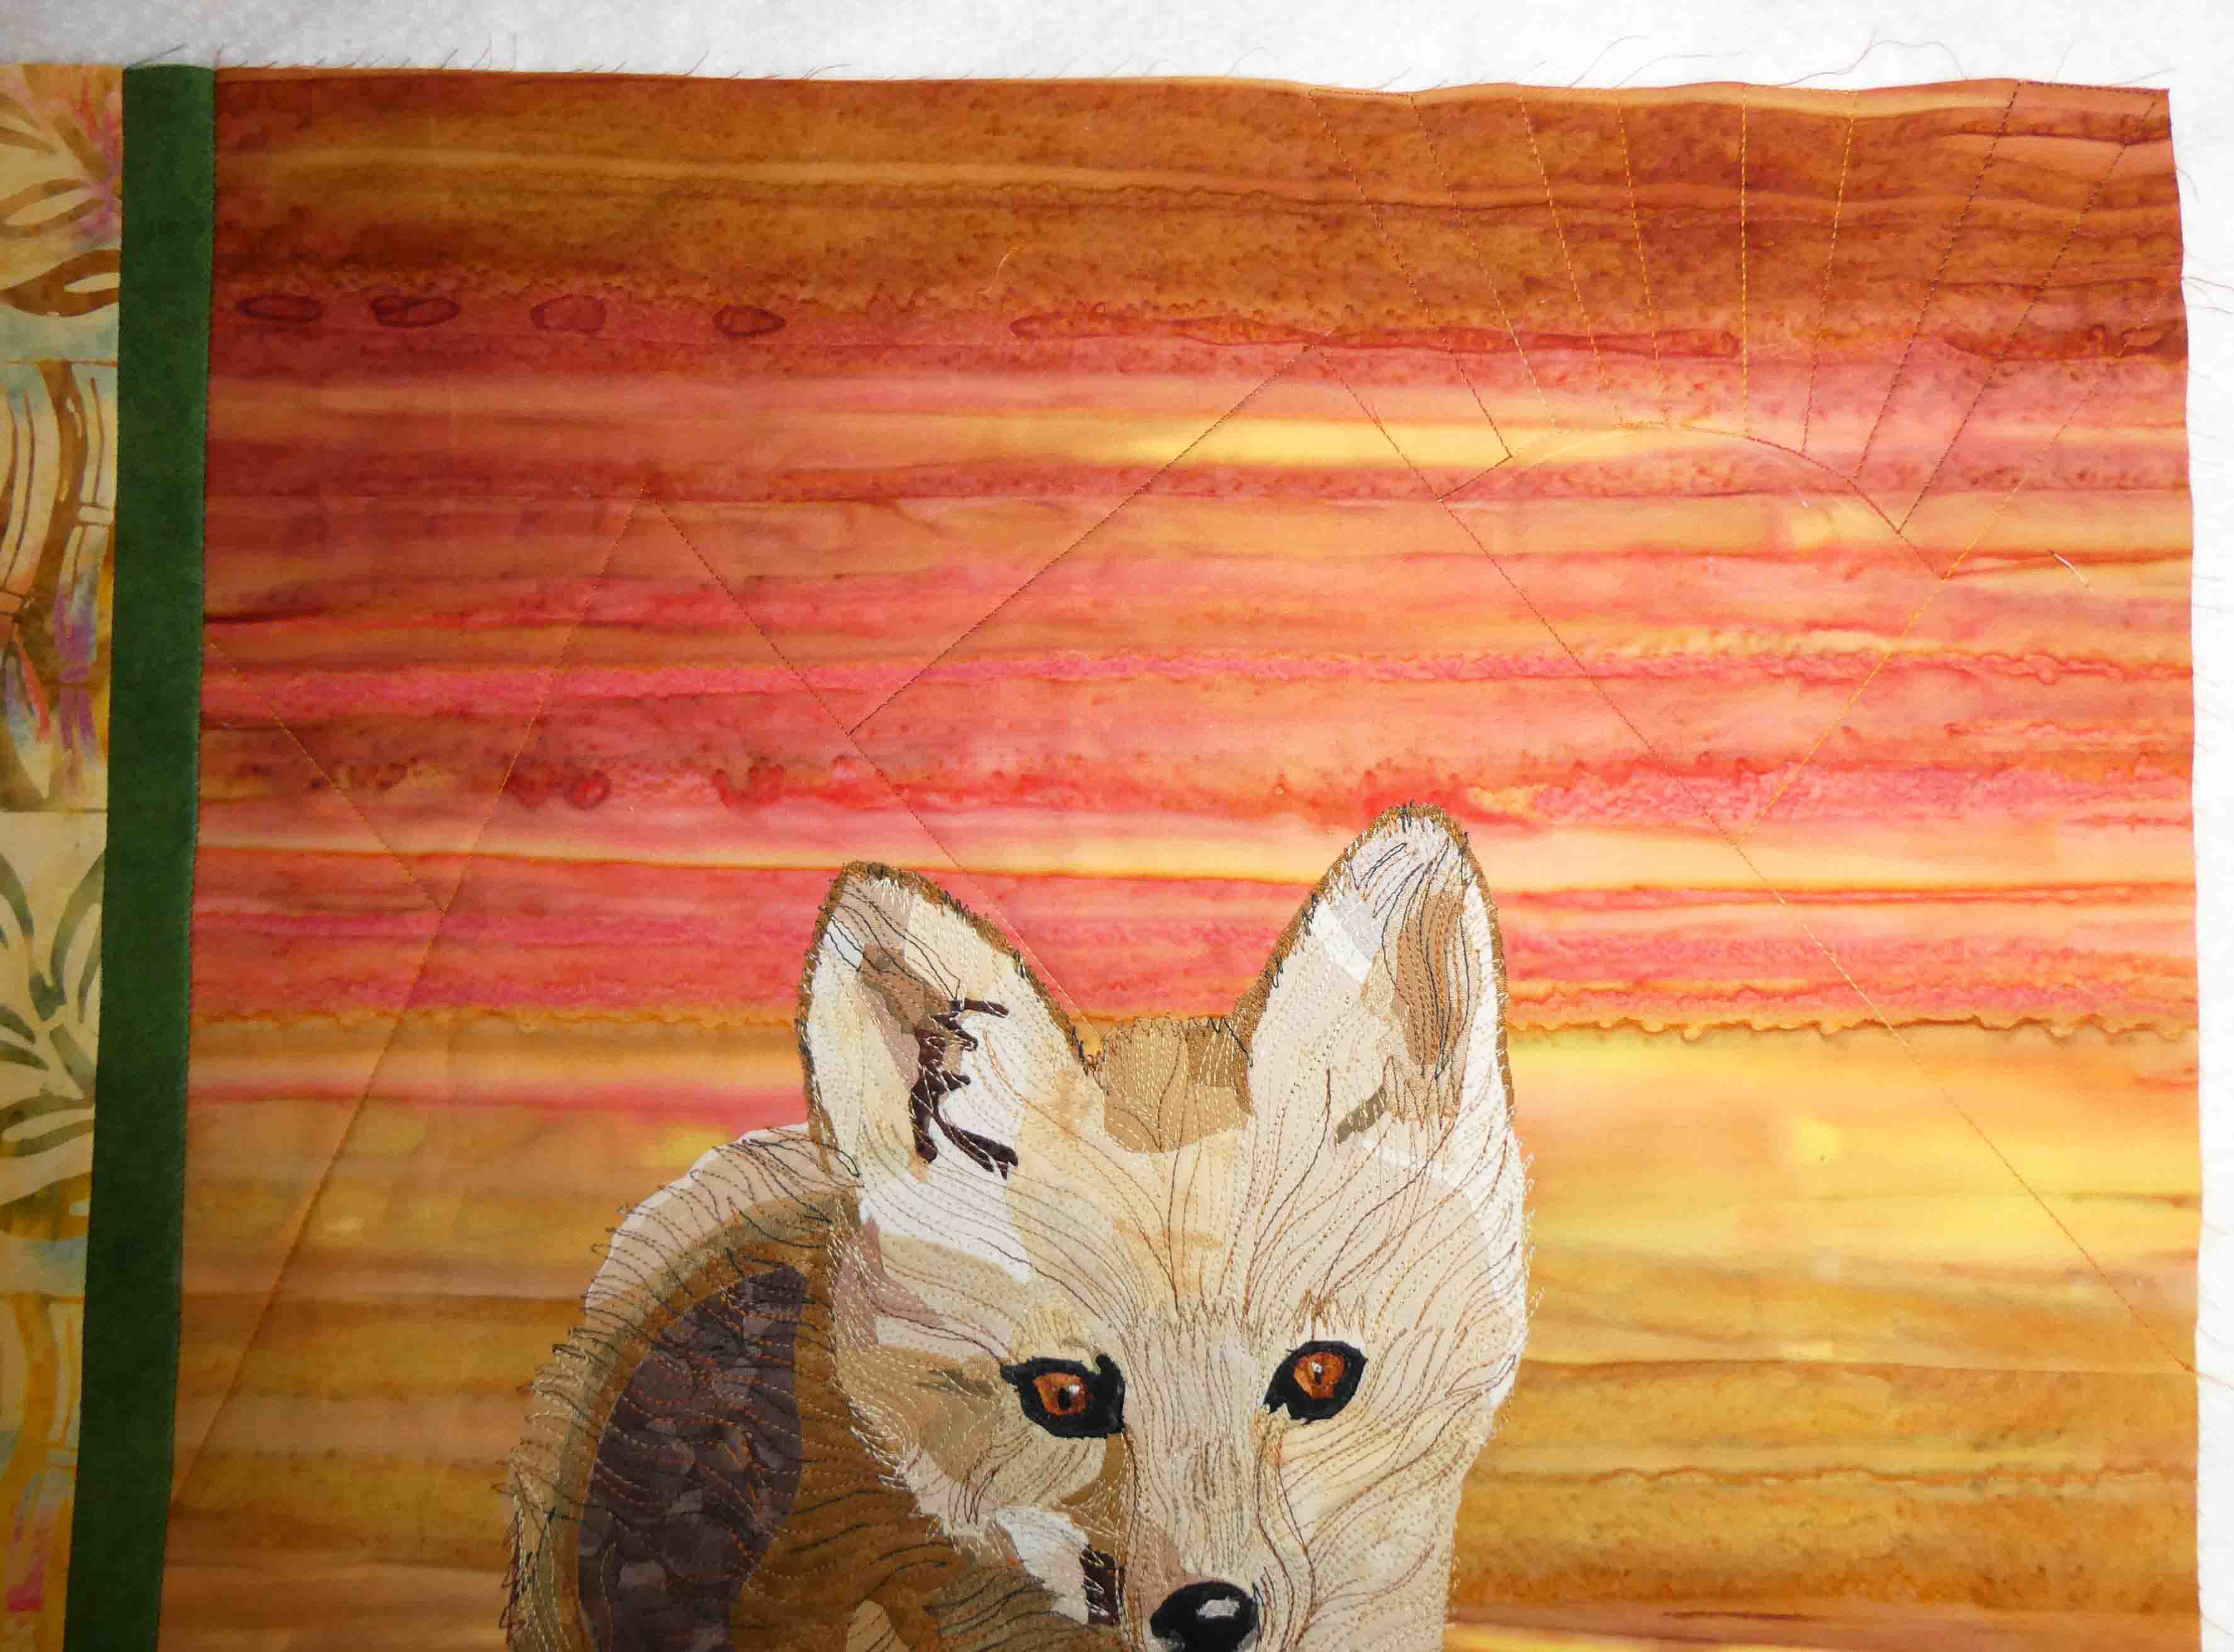
The prompt, "Animal Kingdom," was my submission. I wanted to make a quilt from this original photograph taken by my friend from high school, Carol Galloway. This is Carol's original photo. 


Before I go on, I should say that Carol and I have known one another since the late 60's. She and I sat beside one another in our school band. We both played clarinet. We lost track of one another for many years, but then caught up again on Facebook. As it turns out, Carol is a very talented wildlife photographer. I'd be happy to even find the wildlife she finds for her photography. As her friend, I appreciate her photos of animals in their natural habitat, engaging in natural behaviors. I would never get a chance to see them any other way. If you're on Instagram, you can see more of Carol's beautiful photography by searching for "cgwoodchip" or you can click on that link.

While I was making the quilt, I shared my progress with Carol. This is what Carol told me about her photo:

I recognize this little one!! This den had 11 kits last year, in a field owned by a cemetery. But, they did not come back this year. I stop by once a week just to check since foxes are known to change natal dens from year to year, and to move their kits around as they get bigger.

Okay, so this is how I made my quilt. I first cropped the image to fit my large format printer paper. I use an app called VectorQ to create an image easier to work with for my purposes, creating delineation between shades of color. When I printed it, it looked like this:

While I've made many animal "pawtraits," this fox is the first wild animal I've created. 

For this project, I was trying out a new product. I've always used transparency sheets...the kind used for overhead projectors...and that has necessitated taping them together to make them large enough. This time I used some plastic sheeting, available at JoAnn and probably other craft outlets. It comes in different weights, and I chose the heaviest weight available at JoAnn the day I went shopping. The photograph is taped down to my work surface, and then the plastic sheeting taped over the top.


Then, I go to work tracing, using a fine tip Sharpie. Sharpies are the only pen I've found that won't smear when applied to plastic.


I always write "right side" on the traced image. Since I'm doing fusible applique, I want to remember to trace on the opposite side since I'll be producing a mirror image of the piece I'm working with. Then, I turn the template back to the right side for guiding placement of the fusible piece.


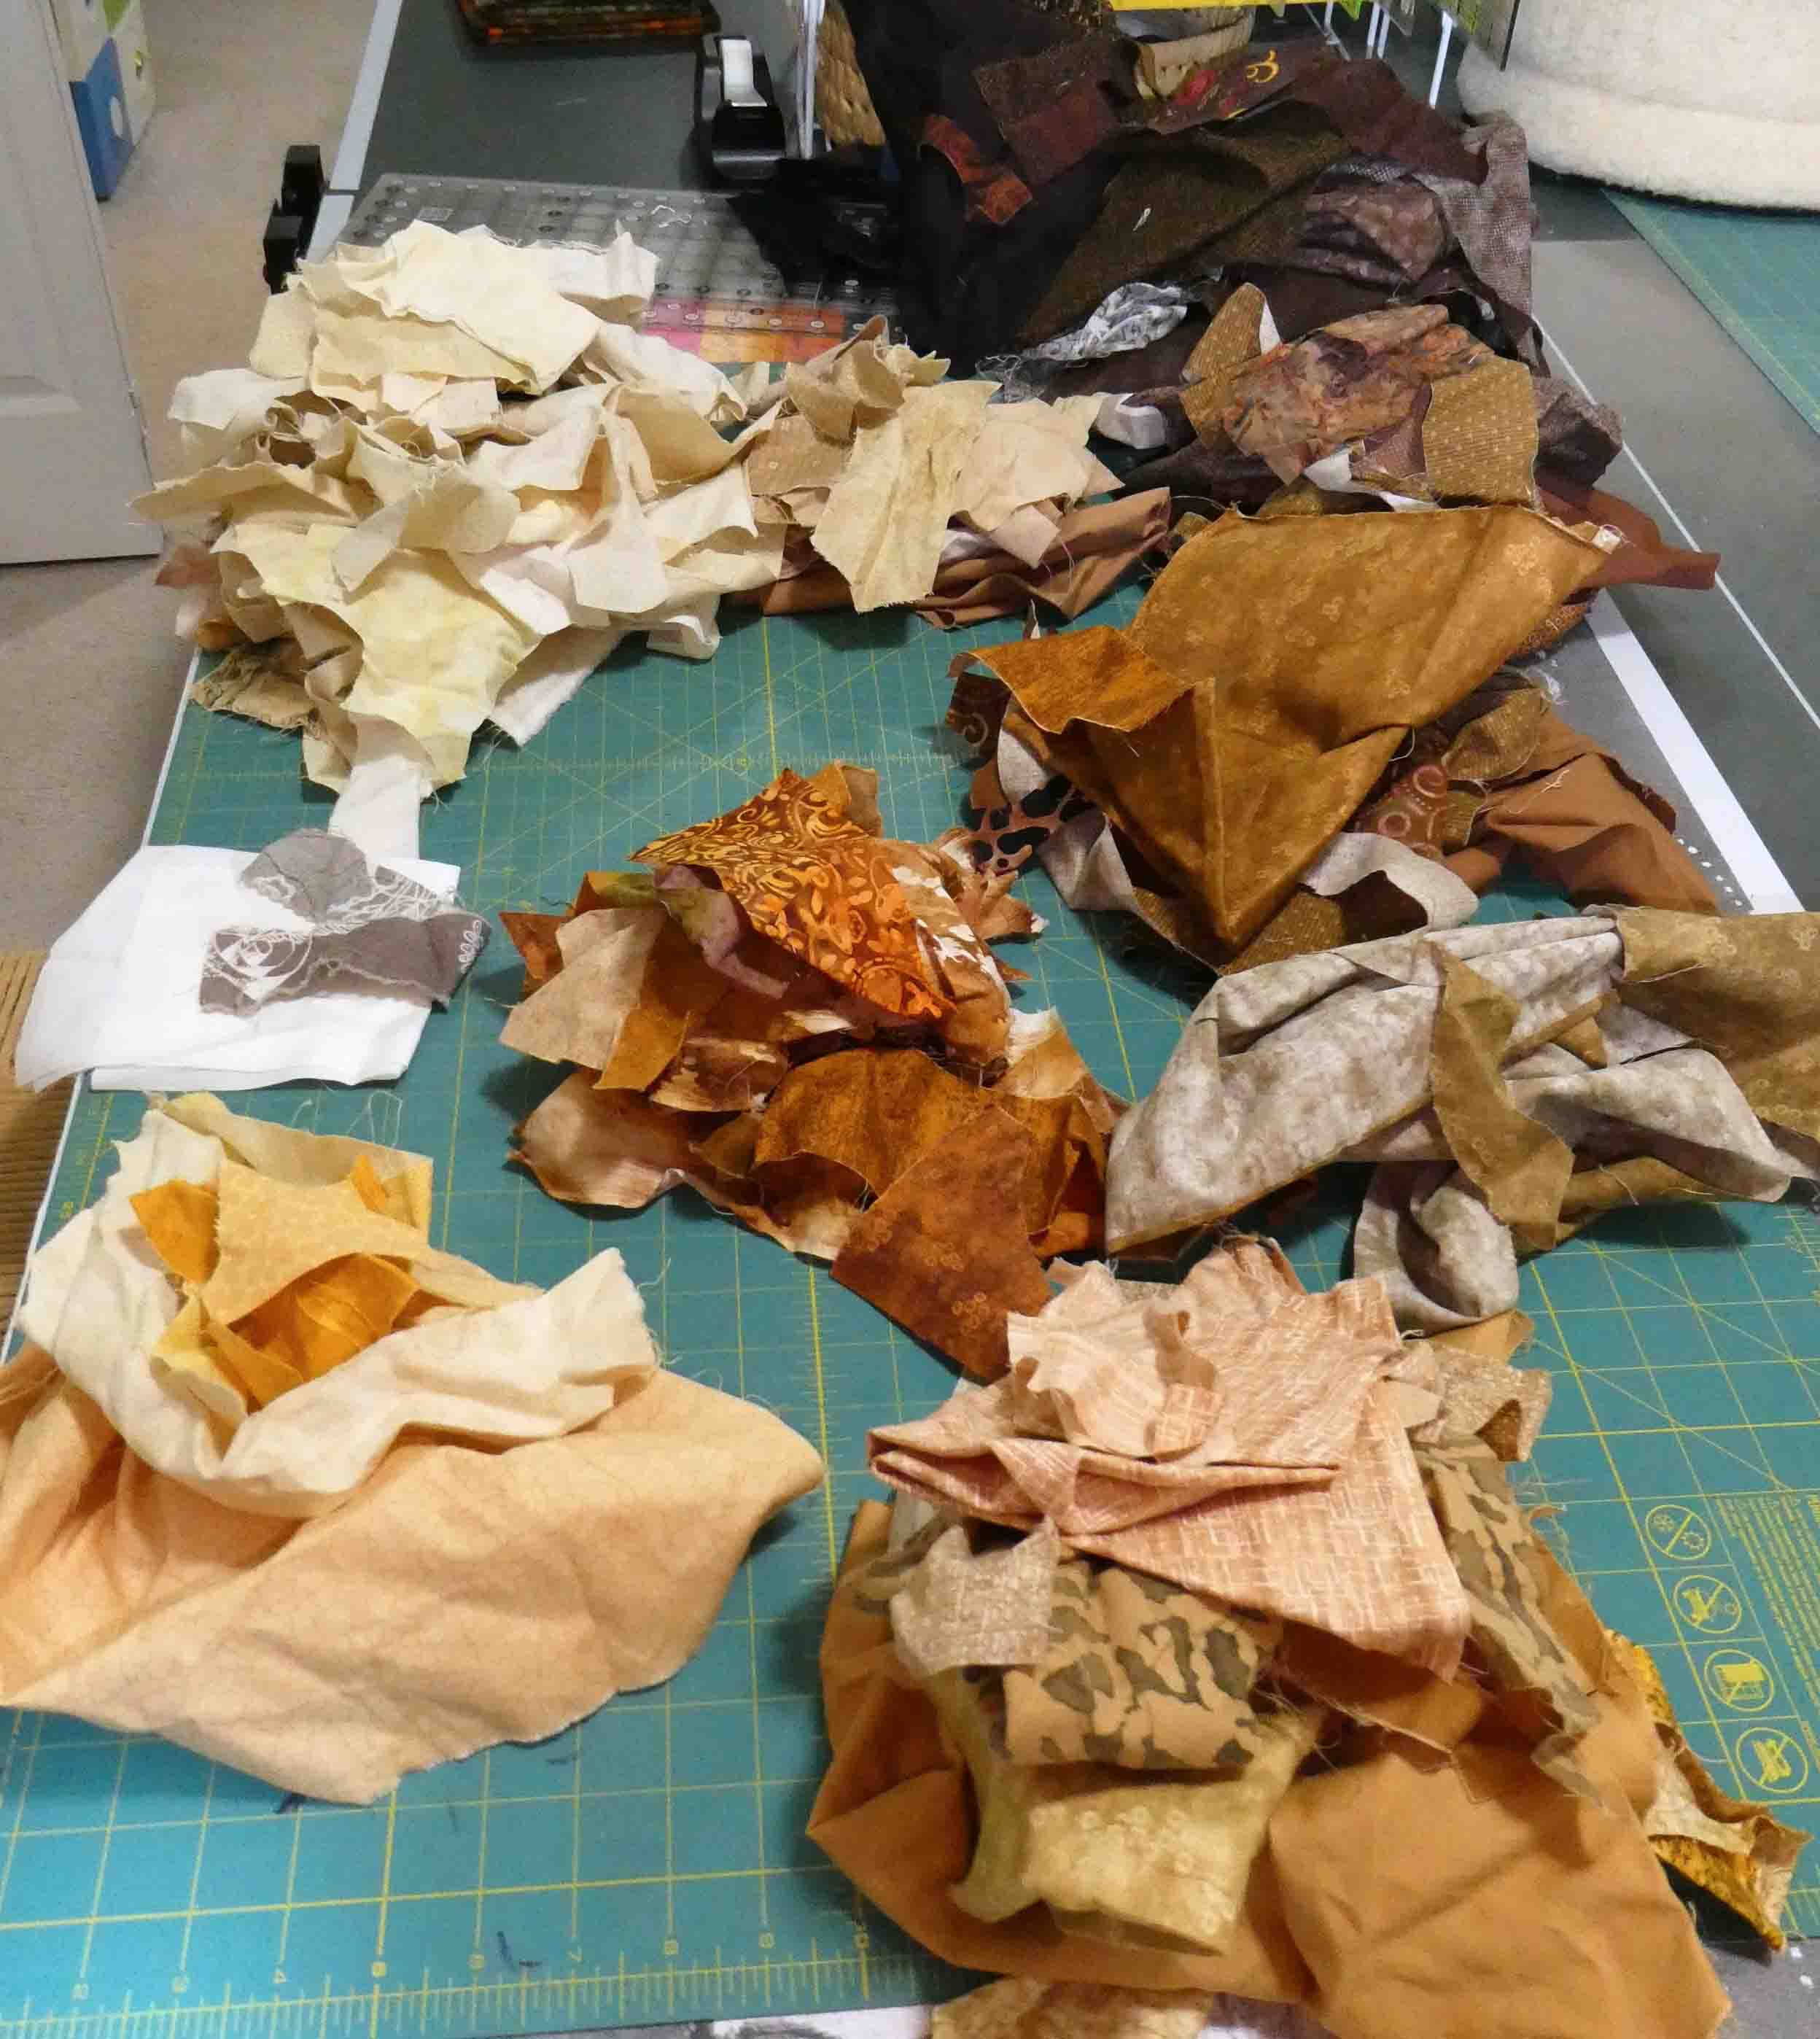
And then, I paw through bins of scraps looking for appropriate pieces, sorting by value.


The fox was first constructed on a teflon pressing sheet. It allows me to fuse the pieces down. When I'm finished, it can be peeled off the pressing sheet and applied to the fabric background. Tweezers are an essential tool since some of the pieces are very tiny.


I always start with the eyes and work my way out.


Here's the progression over several days.


When he was finished. I laid him out, experimenting with different background fabrics...


Until I settled on these.


He was then thread-painted using these threads. 


The thread painting is done through the quilt top and the batting. 


Here are some details.


Whiskers were added last.


When that part was finished, I add the quilt back for quilting, and used these threads.


I quilted some mountains and a sunset in the background.


A leafy motif in the "grass."


And some pebbling in the "dirt."


Then a "Greek key" in the left-side border.


Then it was ready for binding.


And here is my finished quilt. I'm calling it "Fox Trot," and it finished up at 24 x 22 inches.


Here's how it looks from the back:


The quilt was my gift to Carol for graciously giving me permission to use her photograph. In fact, Carol has given me blanket permission to do anything with any of her photographs at any time. And when I see her beautiful photography, it makes me want to turn each one into a quilt. 

Sunday, 1 May 2022

No Prompt: Thread Painting Peruvian Sunflowers

No prompt made it almost impossible for me to make a decision about what to do for this reveal. I considered all the art quilts on my to-do list, and I considered techniques I might want to try. Finally, I settled on "thread painting" as a technique. I've only done this once or twice before, and so it was a chance to experiment with it a little more.

Several years ago, I requested permission of a life-long friend to make a quilt from one of her watercolor paintings. Kathy and I first met in junior high school. We had the same last name of "Nelson," but no relation. Kathy was in the girls' glee club. I wasn't in the glee club, but I was their accompanist on piano. Occasionally, I needed a page-turner, and Kathy sat beside me for those pieces. Fast forward a couple of decades, and we found one another again on Facebook, and renewed our friendship.

So Kathy and her husband served a mission in Peru for their church. This is the story she told me about the inspiration for her watercolor painting:

"The streets of Viru [Peru] are nothing but cement, sidewalks, brick buildings, and dirt streets. I had spent the day there with our missionaries and I was really sad that it was so depressing. I asked Heavenly Father if I could see something beautiful. As I turn the corner, growing out of a crack in the sidewalk were these beautiful sunflowers. It brightened my day, and it changed my countenance. I realize that God finds beauty in all things, and all people. And that just because I only saw a dusty town, God saw a beautiful garden. And He let me see the town as he sees the people of Viru, full of life, love and beauty."

Here is Kathy's watercolor painting:


And here is my finished quilt, created with Kathy's permission:


Here are a couple of close-ups of the thread-painting. I wanted to say just a little more about it. When I started with the applique, I had to decide whether to make individual petals or create the flowers from just one piece. I opted to let the thread do most of the work, and created the flowers from one piece of fabric. Then, I stitched in details based on the shape of the individual petals, putting just a little extra thread down as a boundary between them. Here's a close-up of the largest yellow flower.


I stitched around the edges of the fabric to hold it in place, but where the boundary between one petal and the next was created with thread, I stitched back and forth over the same line of stitching four times, and then "painted" the remainder of the petal following its shape. I hope you can see what I'm talking about, and I hope it makes sense. 


Looking closely below, you can see that I've stitched veins in the leaves the same way.


Finally, the sunflower theme allowed me to stand in solidarity with the courageous people of Ukraine, and so I created the quilt back using the colors of the Ukraine flag. It finishes at 19 x 24 inches.


My quilt has been mailed to Kathy as my gift to her for her graciously allowing me to use her painting as the subject matter for this challenge. I hope you like my quilt.