Showing posts with label #improvquilt. Show all posts

Saturday, 1 February 2025

Mosaic Underfoot

 Well, if that title doesn't pique your curiosity, right? As usual, my idea for this theme prompt is not the idea I ended up using. I had a little fun with this prompt, using inspiration from a few artists I follow on social media. 

Are you familiar with pothole art? A Google search will bring up all kinds of examples. I follow a couple of artists on Instagram, and I think the idea of taking something unsightly like a pothole and making it a piece of art to see while strolling along is a fun idea. So I decided to take my mosaic underfoot and try some pothole art with fabric. 

There's so much about this piece that I would change, if I were to do it again, but let's ignore that and I'll tell you how I constructed it. The mosaic strips were strips made in an online improv workshop that had been sitting and waiting to be used. I freehand cut a shape from the sewn strips and then added the black border. The tricky part was adding the cracks and the sidewalk, or background, to the piece. That took a little thinking, but I made it work. The finished quilt is 20 x 22 inches. 

I was a little perplexed about how to quilt it, so I actually made a little sample piece to mess around with. 


This little sample is about 9" x 13". I used it to try out quilting designs in the mosaic and also to come up with the sidewalk design. I also messed around with thread colors for the sidewalk. In the end, I went with a rectangular sidewalk design, and used a brown thread to give it more of a dirty street look. I'm not sure I achieved that, and am still pondering what I would do differently next time (if there is one!). 


The quilting in the mosaic is just random lines throughout the design. I used a light orange thread, so it blended in well with the mosaic. 


I'll likely share more information about this quilt on my blog, if you are interested. I'm not sure this resembles pothole art, but I think it met the mosaic challenge. 

What a fun year of challenges in 2024! Thanks to Janine and Barbara for keeping the group moving forward! 

Wendy 

Wednesday, 1 November 2023

A Little Bouquet

As usual, my thoughts and ideas for this theme challenge were all over the place, but I finally settled on using this image as inspiration. 


 This is a favorite coffee shop in my city. I enjoy it for the fun latte art (the coffee itself isn't my favorite) and the lovely little floral bouquets at each table. The floral bouquet is the inspiration for my quilt, but the coffee comes into play just a bit, too. 

I decided to challenge myself to see if I could make a little floral bouquet using all circles and squares. It was quite fun, although I had to think a bit on how to incorporate squares! Here's my finished bouquet. 


The blue fabric used for the table is actually an old chambray shirt my husband used to wear. My initial idea for this challenge was to use a larger piece of that shirt and add circles and squares to it. I started by adding coffee rings and was going to stitch around them, but then the rest of that idea just wouldn't settle in. However, I thought having a table with coffee rings was a fun idea (the actual tables at the coffee shop are pristine, in case you were wondering). 


Hopefully you can see those coffee rings in that photo. From there, I built the bouquet, using only circles and squares. The vase is two squares on point, set on top of a half-circle. The bouquet itself is a mix of circles and squares - I just let my imagination run. 


The pieces are all cut freehand. They were stitched to the quilt top using raw edge nachine applique, which got a bit wonky in plaees, but worked out okay enough for me. Rather than using batting for this piece, I used fusible fleece, which I fused to the background before I added the bouquet. Once the bouquet quilting was done, I added the backing to the quilt top and finished with some free motion quilting. It didn't occur to me to do circles and squares in the free motion quilting, so I just practiced a bit of my free hand, which still needs a lot of practice! 

The backing is a scrap piece of blue from my stash, and I had to add a striped binding to add a finishing little pop to the quilt. 


This was a fun challenge for me because I had never tried that free motion quilting around circles. It was a little bit of a challenge at first, but I may have to mess with it a bit more. I always learn some new technique with each challenge. 

Wendy


Monday, 1 February 2021

Memories: The Yellow Chair

 We were taking a road trip, heading north, along the shores of Lake Superior. Just before leaving, we had heard of the death of a friend. She had lived for many years in a cabin on Lake Superior, and we had enjoyed staying at her cabin and visiting her. We decided to pull over and walk the shore a bit in her honor. 

As I came down to the shore, there sat a yellow chair. An ordinary yellow kitchen chair, like those I remember growing up. The bright vinyl back and seat, with aluminum legs. It was just sitting there, empty, facing the lake. 


Perhaps it was the poignancy of the moment, but I wondered what memories that chair held. Did it sit in company around a table, filled with the swinging legs of little ones enjoying cookies fresh from the oven? Was it grandma's chair, where she sat as she shucked the corn for dinner? And how did it come to be on the lakeshore? Who brought it there, and why? What memories did it have to tell about life on the lake? Did the old man sit in it while tossing a stick for his dog? Was it a resting spot as the fisherman waiting for a bite at the end of his line? And now it sat empty, looking a bit forlorn and sad. But oh, what memories it must have. 

The greenery behind the chair is simply green scraps pieced together, spliced with light green added, then squared and sewn together. The sand was also improv piecing without the added splicing. The chair is added by raw edge applique. 


This was an enjoyable challenge, and I'll share more details about its construction on my blog this Wednesday. I continue to have fun with each theme, finding ways to challenge myself and create something unexpected. Even that builds fond memories! 


Saturday, 1 February 2020

Dandelion Wishes

When I pondered the theme of "wishes" it reminded me of those days at the end of summer, when the heat was high, the grass was getting dry and crispy, and the sky was cloudless and blue. My friends and I would lay in the sun, pick dandelions that had lost their bloom, and blow on them to release the seeds.

I decided to try to make a quilt using that idea. Not having experimented much with mixed media and three dimensional items in a quilt, I thought I'd play a bit. My husband is the tea drinker in the family, so I decided to recycle some used tea bags. I let them dry out, then opened them and tossed the tea.

Once the tea papers were fully dry, I fan-folded them and tied them with string, making two large and two tiny pom-poms. Remember how we used to do that? It was easy to do, thanks to Wonder clips that held the fan-folded paper for me while I tied the string. I forgot to take pictures though!

Next up, was to make that clear blue sky and green grass. I did some improv work with some green scraps for the grass.


Then I attached a bright blue Moda Grunge to the green improv for the sky and added some wavy quilting to create some gentle breezes. Next up, a new thing for me - a little bit of thread painting. For someone who doesn't really free motion, I was a bit nervous, but I just had fun with it. What's to lose, right? I added two stems and two smaller ones.


Now it was time to add the dandelions. I did this by leaving long thread tails to the blossoms, then pulling each thread through to the back of the finished quilt and tying it off.


My dandelions look a bit like peonies, do they not? I even tried snipping them to create a more stringy look to the blossom, but couldn't quite get the effect. The little puffs above are the seeds that have been blown off one of the blossoms.

All in all, it was a fun experiment.


This little quilt measures approximately 15" x 18" and was made using scraps from my stash.

There are a few things I wish I would have done differently, but isn't that a bit what wishes are made of?

Thanks for the fun challenge!

Wendy


Thursday, 1 November 2018

Improv Patchwork

Untitled


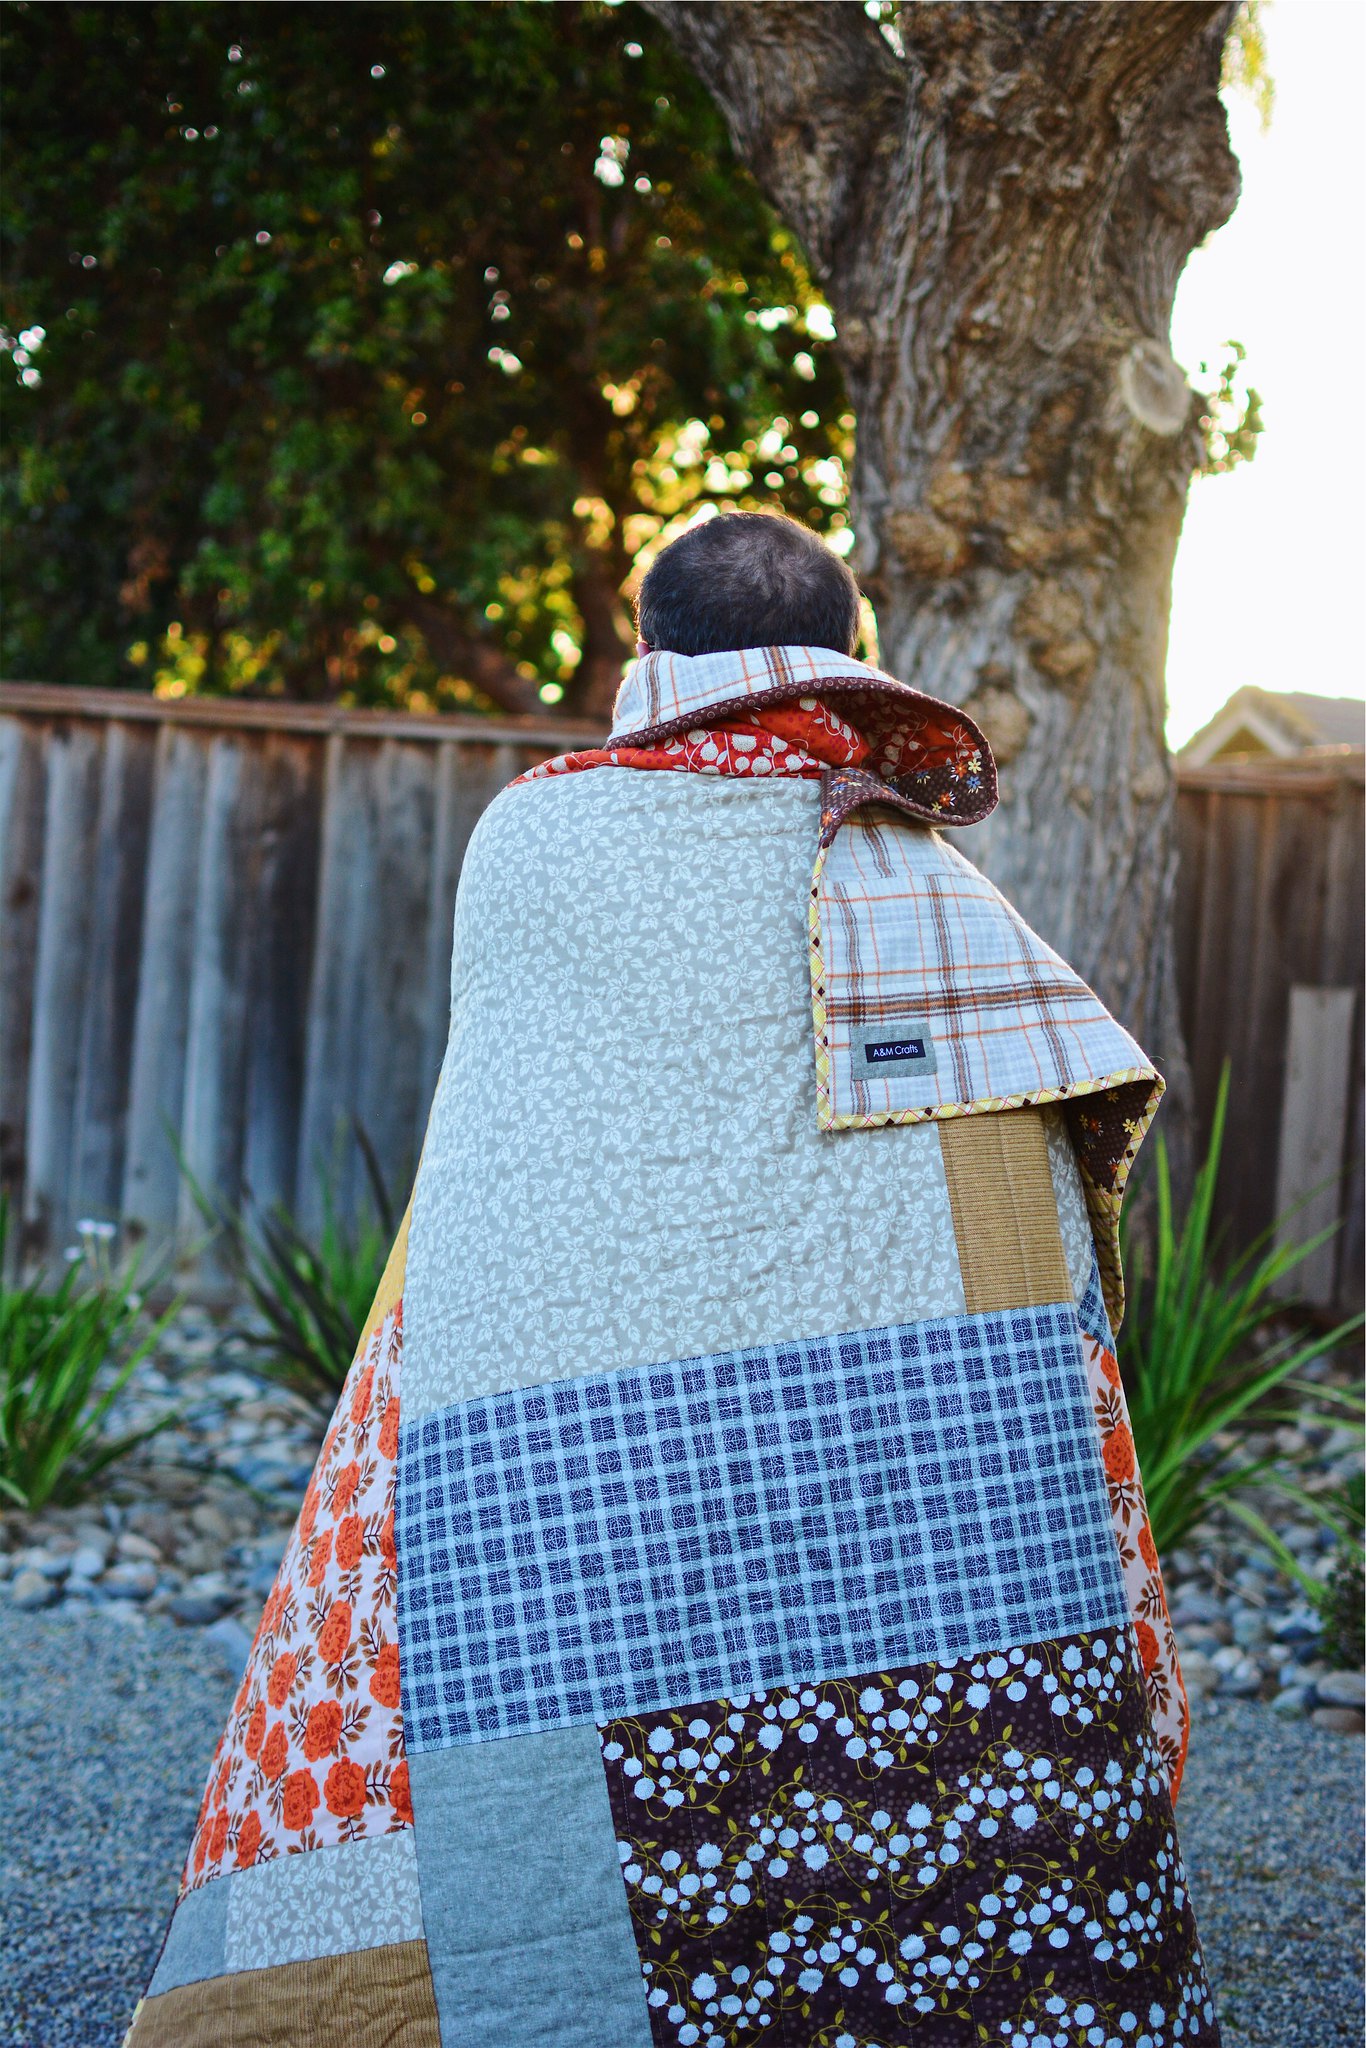
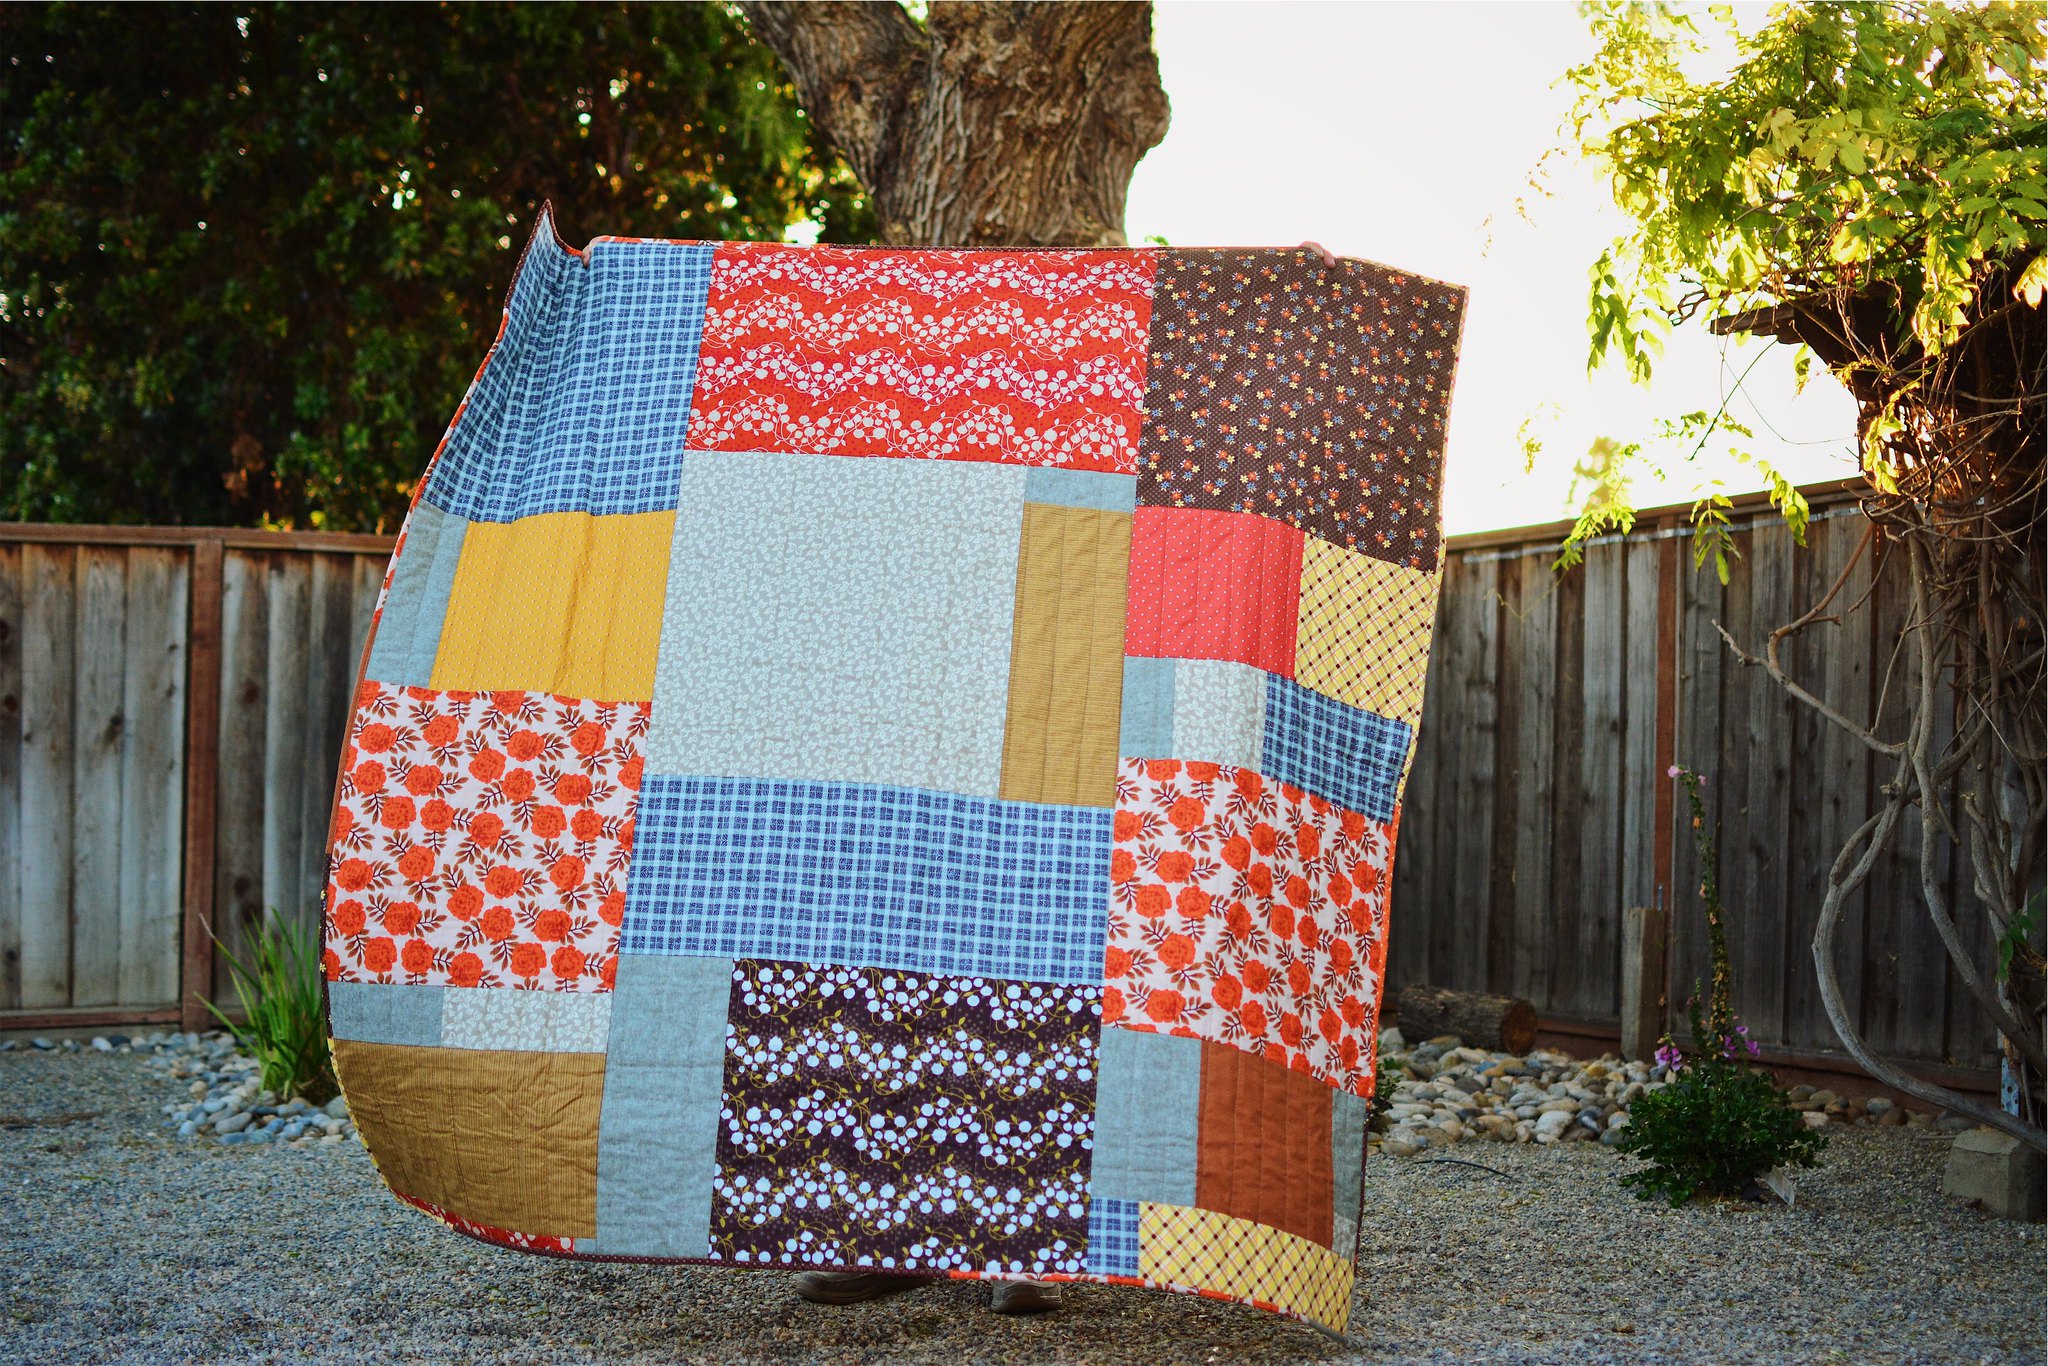
 I love the look of large patchwork quilts. I find them very cozy and homey. However, this is only my second one. I made my first one a long time ago when I first stated quilting. And never tried again. Coloring outside the lines sort of speak can be challenging. When'd I had trained my brain to work with a pattern or template; conceptualizing a quilt without a pattern to start with feels a bit daunting. But this challenge was the perfect opportunity to give it another try. I had some scraps I wanted to use up and seed where it would lead me. The process was so liberating. I loved letting fabric dictate where this design was going to take me. And the best part I ended up with a large quilt perfect for this  chilly autumn weather. You can see more pics on my blog (sorry I got ahead o myself and blog about it about two weeks ago, I was too excited about my new finish).

XO
Martha

Wednesday, 31 October 2018

Log Cabin Improv

I made a log cabin table topper (or it could be a wallhanging) for this quarter's challenge.
I am left-brained in construction, so I did have to have some boundaries.
I chose the block and colors through random selection. You can read more about that on my BLOG.

This is my finished project. It measures 17.5" x 18.5". On my blog, I mentioned how this was a learning experience for me. It could have been truly MORE improv if I had made the outer border randome blue and orange, or if the log cabin strips had been placed without consideration of the rule: 2 sides dark, 2 sides light.


I will try something like this again. Perhaps I will use some other block choice from my list.