For this project, I wanted to try a technique from this book by Timna Tarr. She has a page on Facebook, and her work with this technique is simply amazing. Her book is excellent, with excellent instructions.
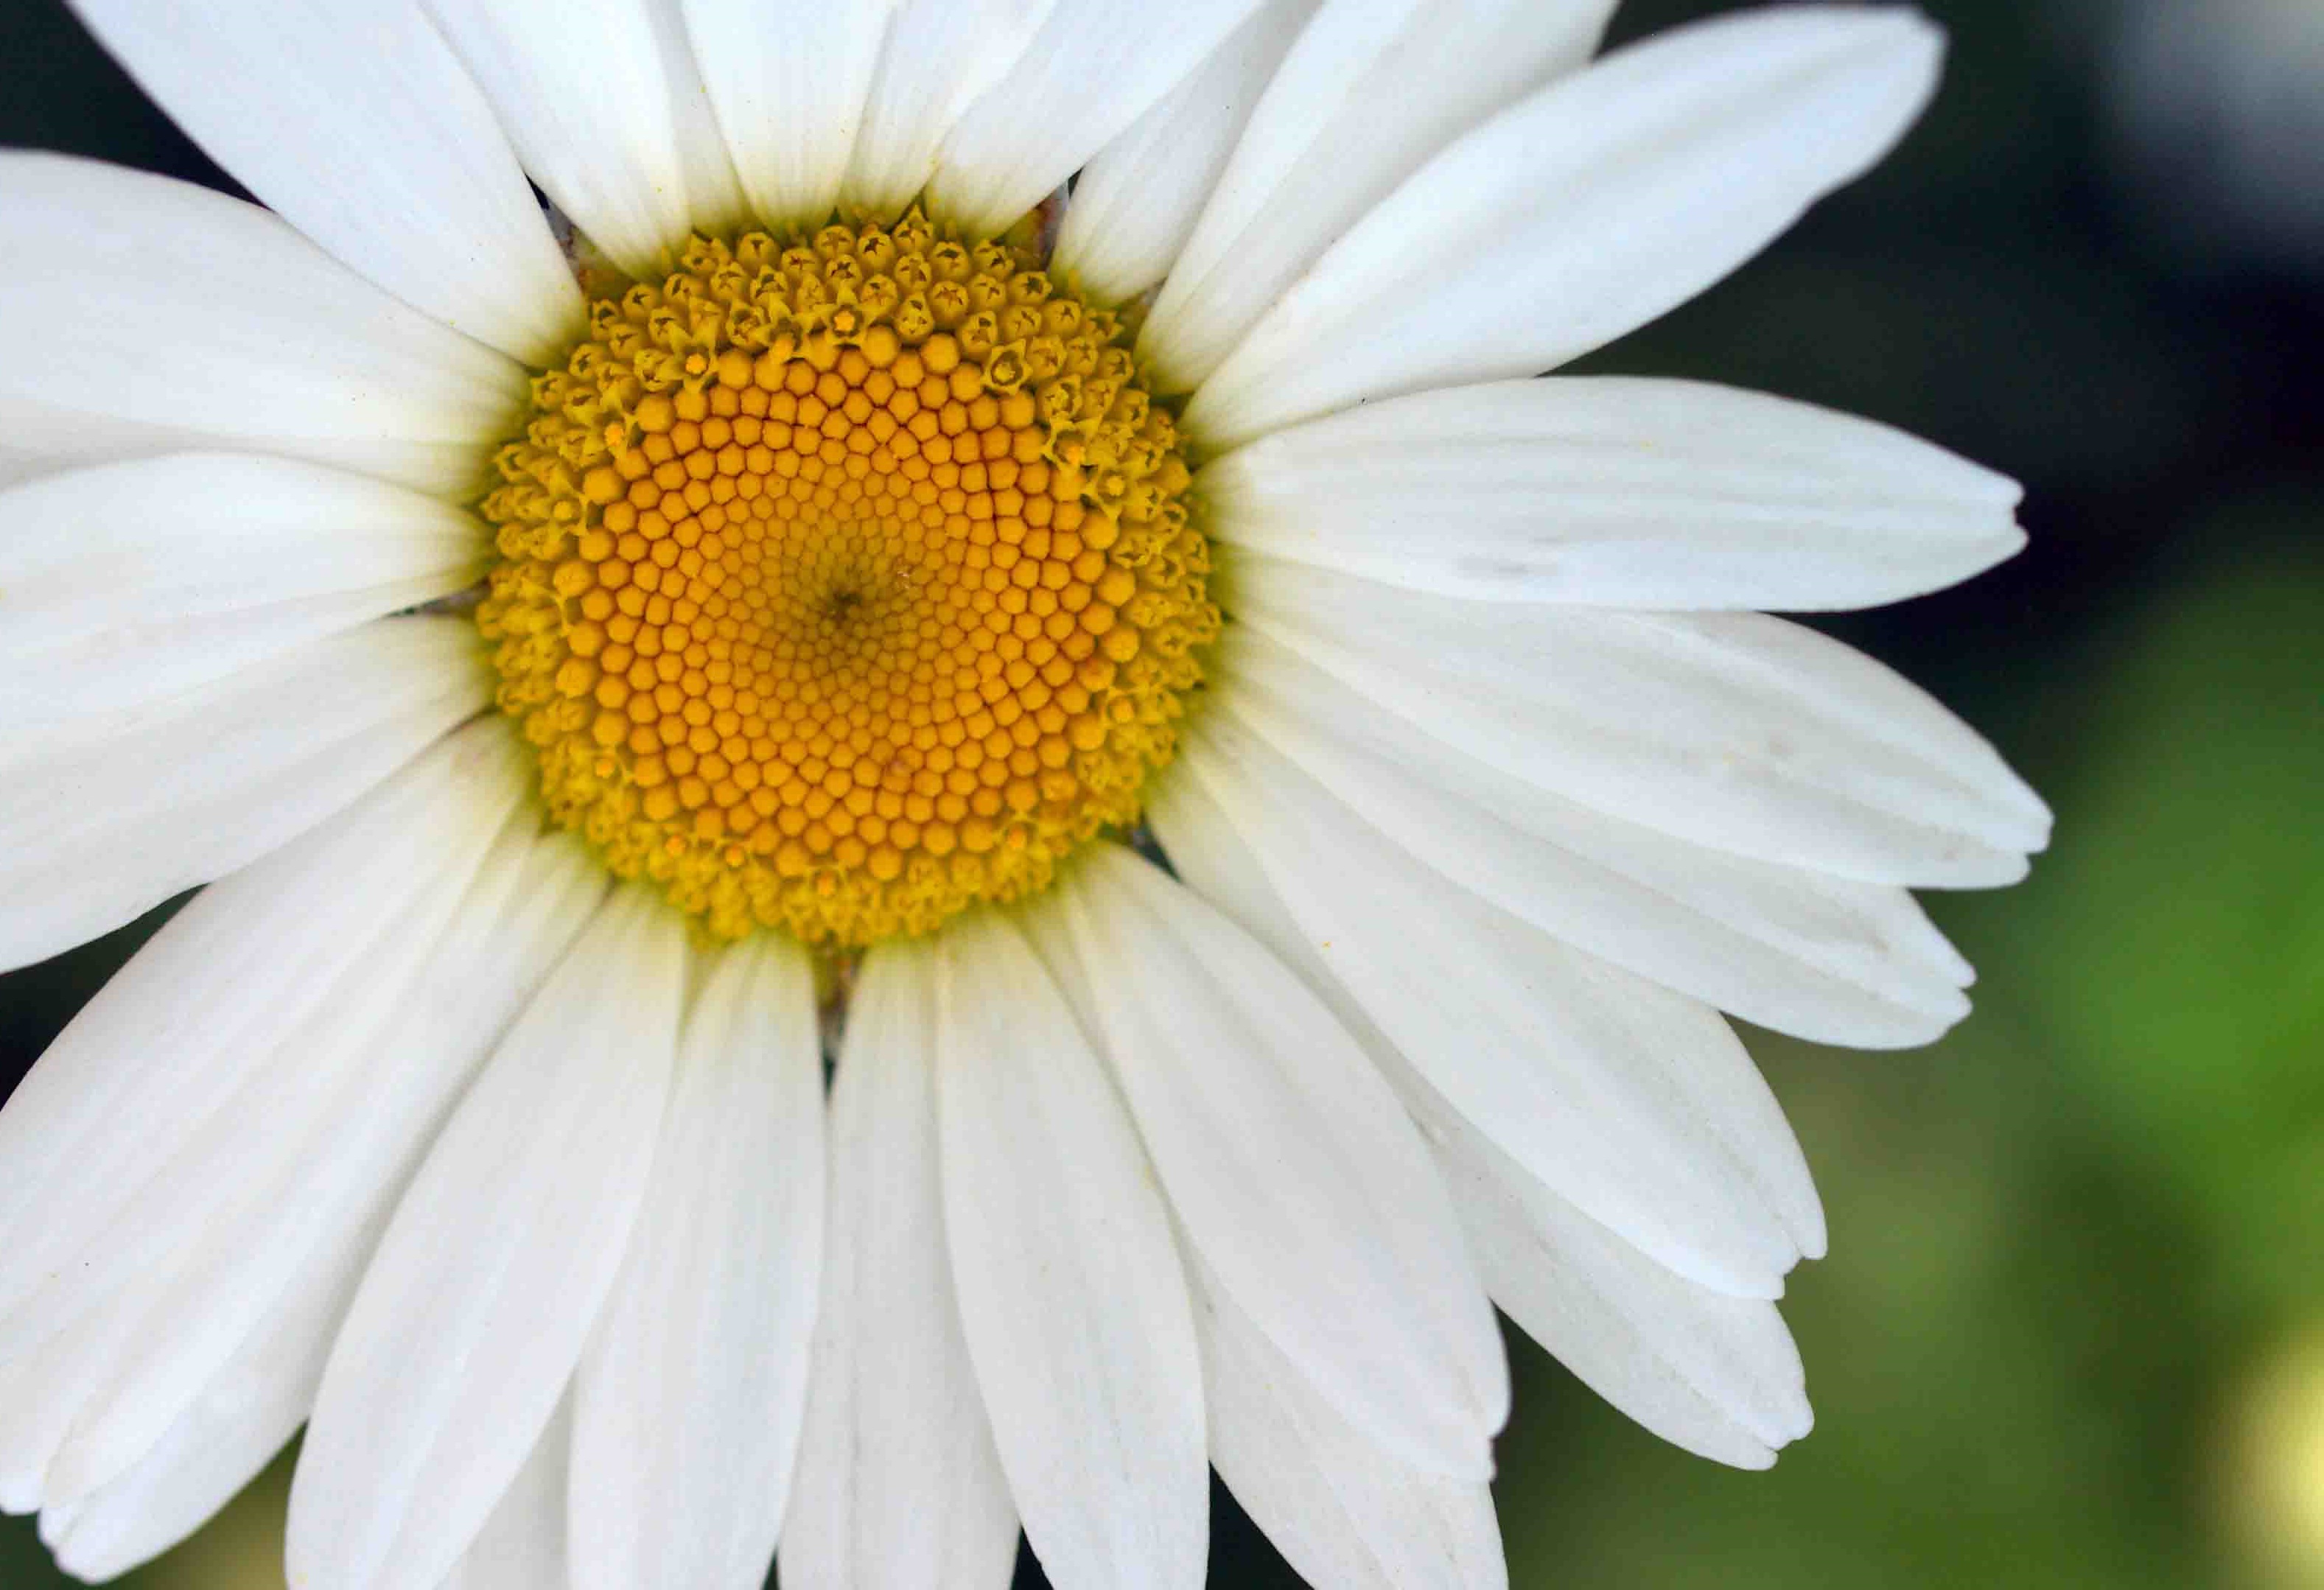
At the beginning, I had a couple of false starts, both in the image I wanted to use, and then with the fabrics I wanted to use. In the end, I settled on this image.
The first step is to draw diagonal grid lines over the image. They can be of any size, but I was going by the book. Mine were 2 inches.
When it was all done, it looked something like this.
The next step is to number each square. That way, if your pieces get dropped or mixed up somehow, they're easier to put back in order.
As I went, I found that some areas were difficult to see with just a black sharpie. I went in search of one with white ink.
It's actually a "paint" pen. I was disappointed that it wouldn't work to use directly on fabric. It simply absorbs into the fabric and can't be seen. For my purposes, though, it worked great!
The next step was to cut two inch squares from freezer paper.
Those were numbered and then ironed to the backs of fabrics as I went.
For this project, I set up a foam core board I could use as a sort of design wall.
I could pin the pieces directly to the board.
And then, I just kept going.
I've only ever done machine applique, and so this method was new to me. I painted the edges of the fabric with starch and then folded them over the cut template.
The book suggested marking the colors before cutting the pieces in order to keep straight which color went where.
Soon you'll see that neither of these fabrics was used in my finished piece, but this is the only photo documentation I have of my process. Originally, I thought I'd do the flower petals in pink and the background in aqua, but then I changed my mind and went back to the original.
And while this method is often used as "needle turn applique," I was still stitching the edges by machine.
And I kept going with the pink for a while...
But eventually switched back to the original white color. It helped me to pin the image to the white board and pin directly over the top of it.
When it was all finished, it looked like this.
Before trimming, I sandwiched it for quilting. My first step was to outline all the petals. This was my one worry regardless of the color fabric I used. Would there be enough contrast for the petals to stand out? Since there wasn't, I decided to outline them in black.
And then I did some pebbling in the flower center.
When the quilting was finished, I trimmed off the triangular edges
And added a binding.
Here's how it looks from the back.
So I can't say I'm completely satisfied with how this turned out. Probably a different image would have worked better. Nevertheless, I enjoyed the process, and I'd try this again in the future if it seemed like the best way to complete a project. I hope you like my quilt!


I think this turned out really well! How large is it? Will you hang it on your wall? This looks like an intriguing method, I might have to find that book.
ReplyDeleteThanks, Wendy. Yes, it’s hanging on my wall. It ends up at 12 x 18 inches…so, pretty small.
DeleteYour thread rack is a beautiful mosaic in itself!
ReplyDeleteYour piece is really great, it reminds me of a Chuck Close portrait, with interesting things to look at in every inch. Very interesting results!
Yes, that's where she gets her inspiration for the technique. Thanks!
DeleteVery lovely. Thanks for sharing your process.
ReplyDeleteThank you!
DeleteI have the same book but have only leafed throught it so was fascinated to see how you used this technique in your piece. I really like your inspiration image and find how close the piece is to the inspo really cool. The colours are lovely and that black and white with the stictching really gives life to the petals.
ReplyDeleteThank you, Ruth!
DeleteThis is an interesting technique and it has worked really well. Thank you for your description of how you made this :)
ReplyDeleteThank you, Janine.
DeleteI have that book too Barbara, but chickened out of using it for this challenge. I am very impressed that you pulled it off so well :)
ReplyDeleteThank you, Fiona. It was pretty easy with this image. I’d like to try one a little more complicated and see how it goes.
ReplyDeletePrettier blog
ReplyDelete